
Migration Steps
1
Export User Data from Auth0
This step is necessary if you use Firebase’s email/password or passwordless login methods.
In this case, your users’ data is stored in Firebase, and you will need to export it.Firebase has a friendly CLI tool for exporting user data, but unfortunately, it does not contain the organizations that users belong to.Therefore, we need to use the Firebase Admin SDK to first list all the organizations, and then for each organization, list all the users.This requires installing and configuring the Firebase Admin SDK. Follow the Firebase Admin SDK setup guide for more details.Here is an example script that exports the tenants and users:Firebase supports exporting password hashes, but note that you can only load them into Nile Auth if you are using bcrypt.
To determine the password hash parameters used for your project navigate to the
Authentication > Users section of the Firebase console and click the three dots icon above the list of users.2
Import User Data into Nile Auth
You’ll need a small script to import the user data into Nile Auth.
The script will iterate over the exported user data and create users in Nile Auth.The following example script shows how to import user data from a JSON file:If you did not have the password hashes imported to Nile, your users will need to reset their passwords after the migration (unless you used passwordless authentication) - you can read how to do this in our password reset docs.
3
Migrate Social Providers
If you used social identity providers with , you will need to configure the same providers in Nile Auth.You can configure social providers by going to “Tenants and Users” page in Nile Console
and selecting the “Providers” tab.Simply click on the provider you want to configure and you’ll see the provider configuration page.
All providers use OAuth, so you’ll need to provide the OAuth client ID and secret. It is recommended to use the same client
ID and secret as the one used in . And to use the same redirect URI in the social provider configuration.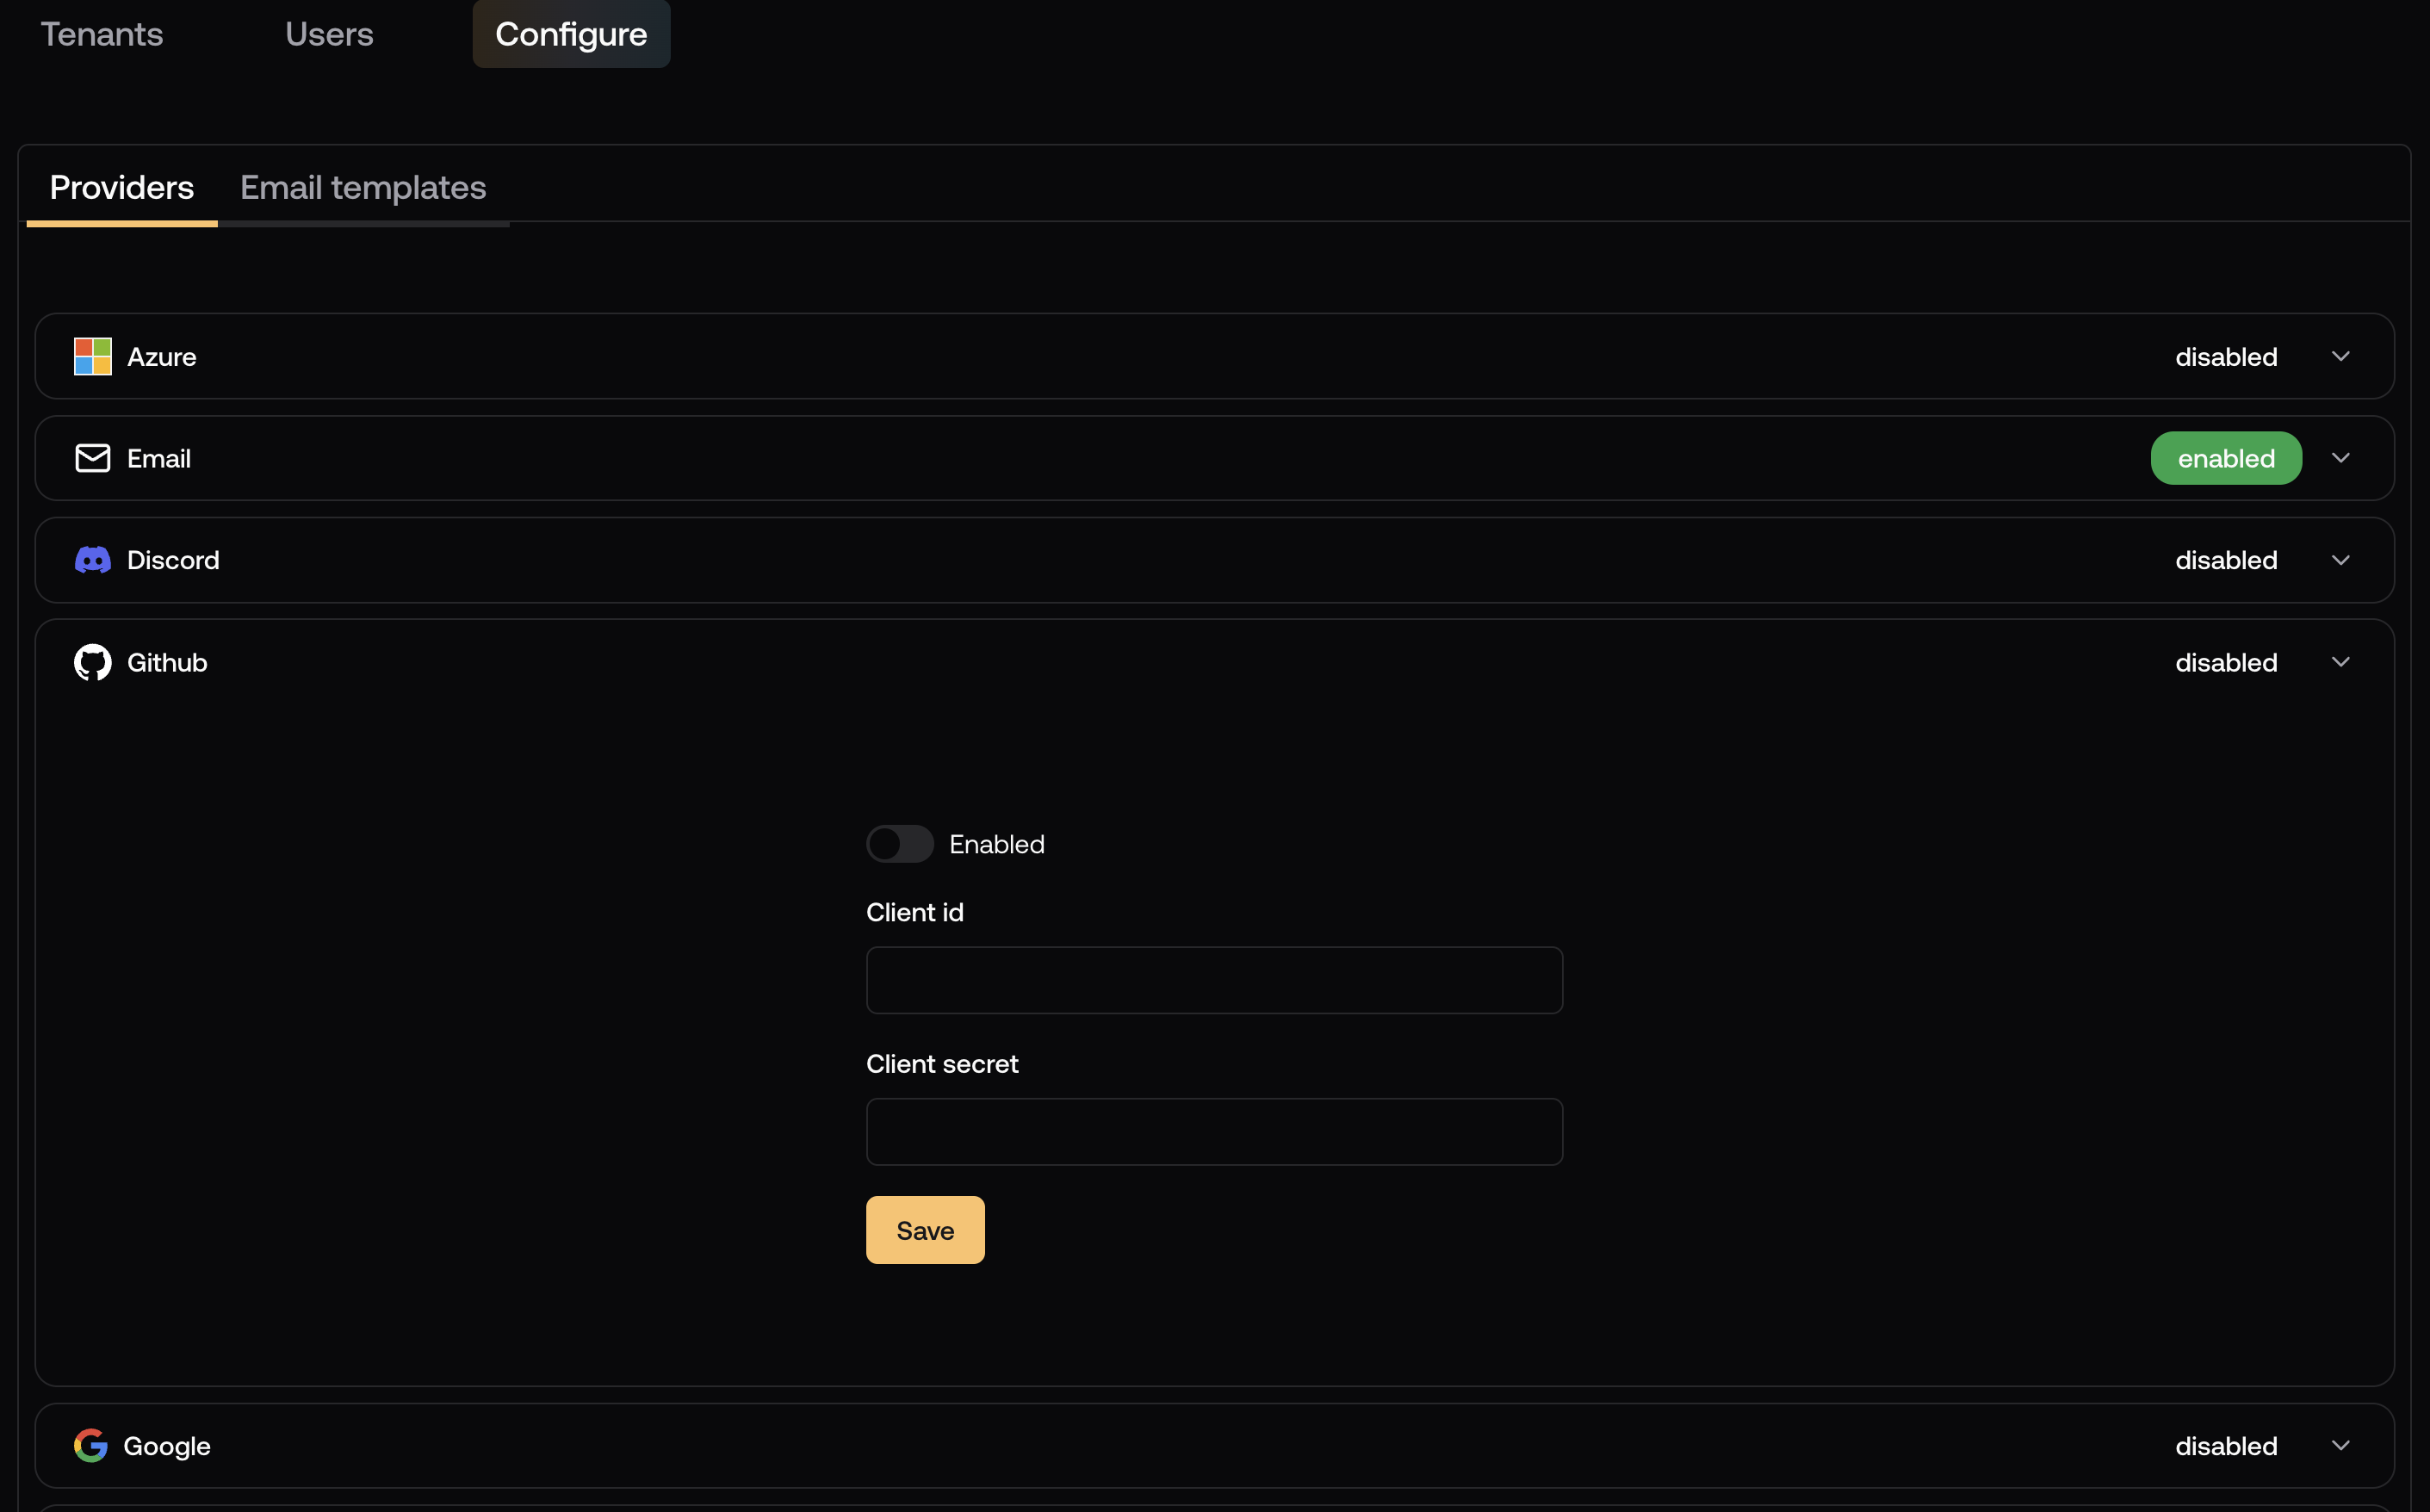
Testing
We recommend you do thorough testing in a staging environment before migrating to production. Before starting a migration, both in staging and in production, we recommend you create a few test users and organizations in your existing auth provider. Make sure you have a mix of email/password, passwordless and social providers users. Then, after migrating to Nile Auth, test the following (both in test and in production):- Sign up and sign in with email/password, passwordless and social providers.
- Sign in with email/password, passwordless and social providers.
- Sign out
- Reset password
- Email verification
- Validate that the users have access to the correct organizations.
Best Practices
Here are some recommended practices for a smooth migration from Auth0 to Nile Auth:- Staged Migration: Consider migrating users in batches rather than all at once. Start with a small subset of non-critical users or test accounts. Monitor for issues and gather feedback before proceeding with larger groups. This will allow you to test the migration and make sure it works as expected before migrating all users. The “fallback strategy” described in the migration steps can be used to support both Auth0 and Nile Auth during the migration.
- Communication Plan: Notify users well in advance of the migration. Provide clear instructions for any actions they n eed to take (like password resets). Set up support channels for users who encounter issues during the transition.
- Backup and Rollback Plan: Keep backups of all Auth0 data before starting the migration. Maintain the Auth0 configuration until the migration is complete and verified. Have a clear rollback plan in case of critical issues.
- Monitoring and Validation: Set up monitoring for authentication failures during and after migration. Implement logging to track successful and failed migrations. Validate user counts and access permissions after migration.