
Overview
Magic Link authentication flow:- User enters their email address
- They receive a secure link with an authentication token via email. The token is valid for 4 hours by default and is saved in the
auth.verification_tokenstable in your database. - Clicking the link automatically exchanges the token for a session, logs them into your application and redirects them to the
callbackUrlconfigured in thesigncomponent.
Implementation Steps
1
Obtain Database Credentials
- If you haven’t signed up for Nile yet, sign up here and follow the steps to create a database.
- Navigate to Database Settings in your database’s UI at console.thenile.dev.
- Go to Connection settings.
- Select the CLI icon, and click Generate credentials
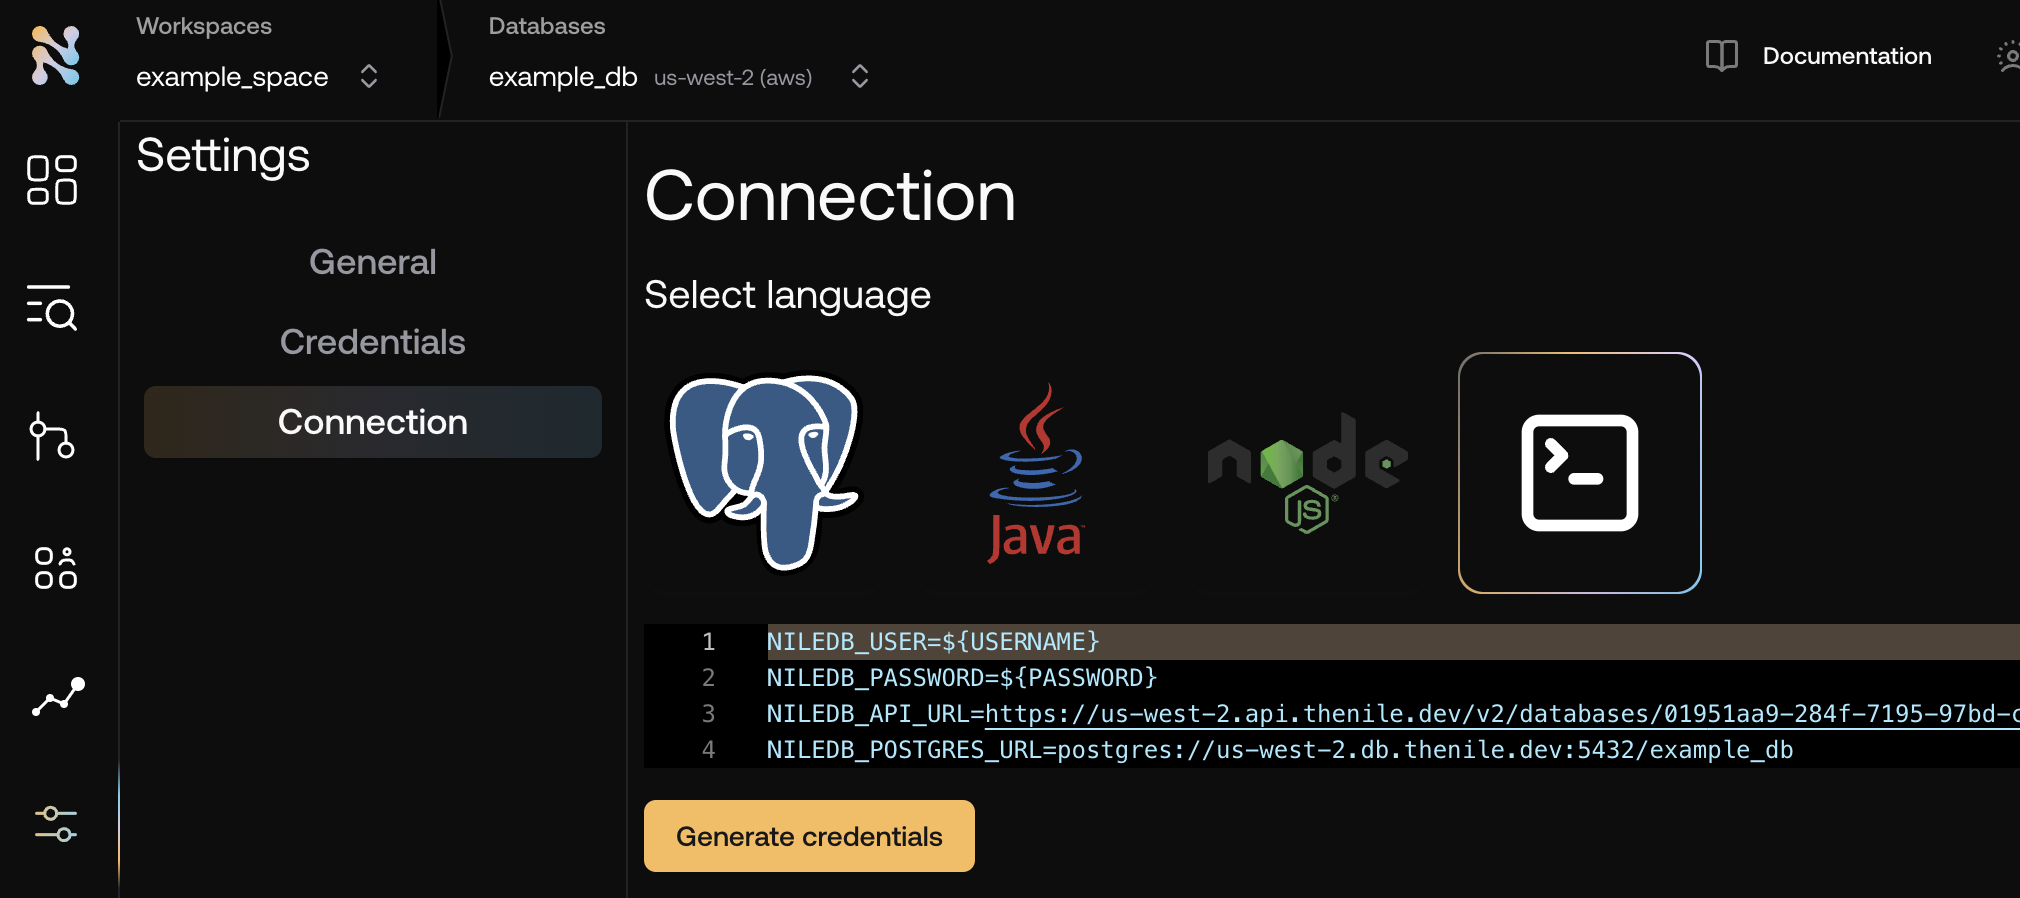
- Copy the required credentials and store them in an
.envfile so they can be used in the application to connect to the Nile auth service..env
2
Configure Email Settings
Ensure you have configured your email settings in the Nile Dashboard. You’ll need a valid
SMTP provider configured to send emails from your
application, and email templates configured for the magic link.
3
Enable Passwordless Login
Click on Providers tab under Configure. Under Email, enable passwordless login.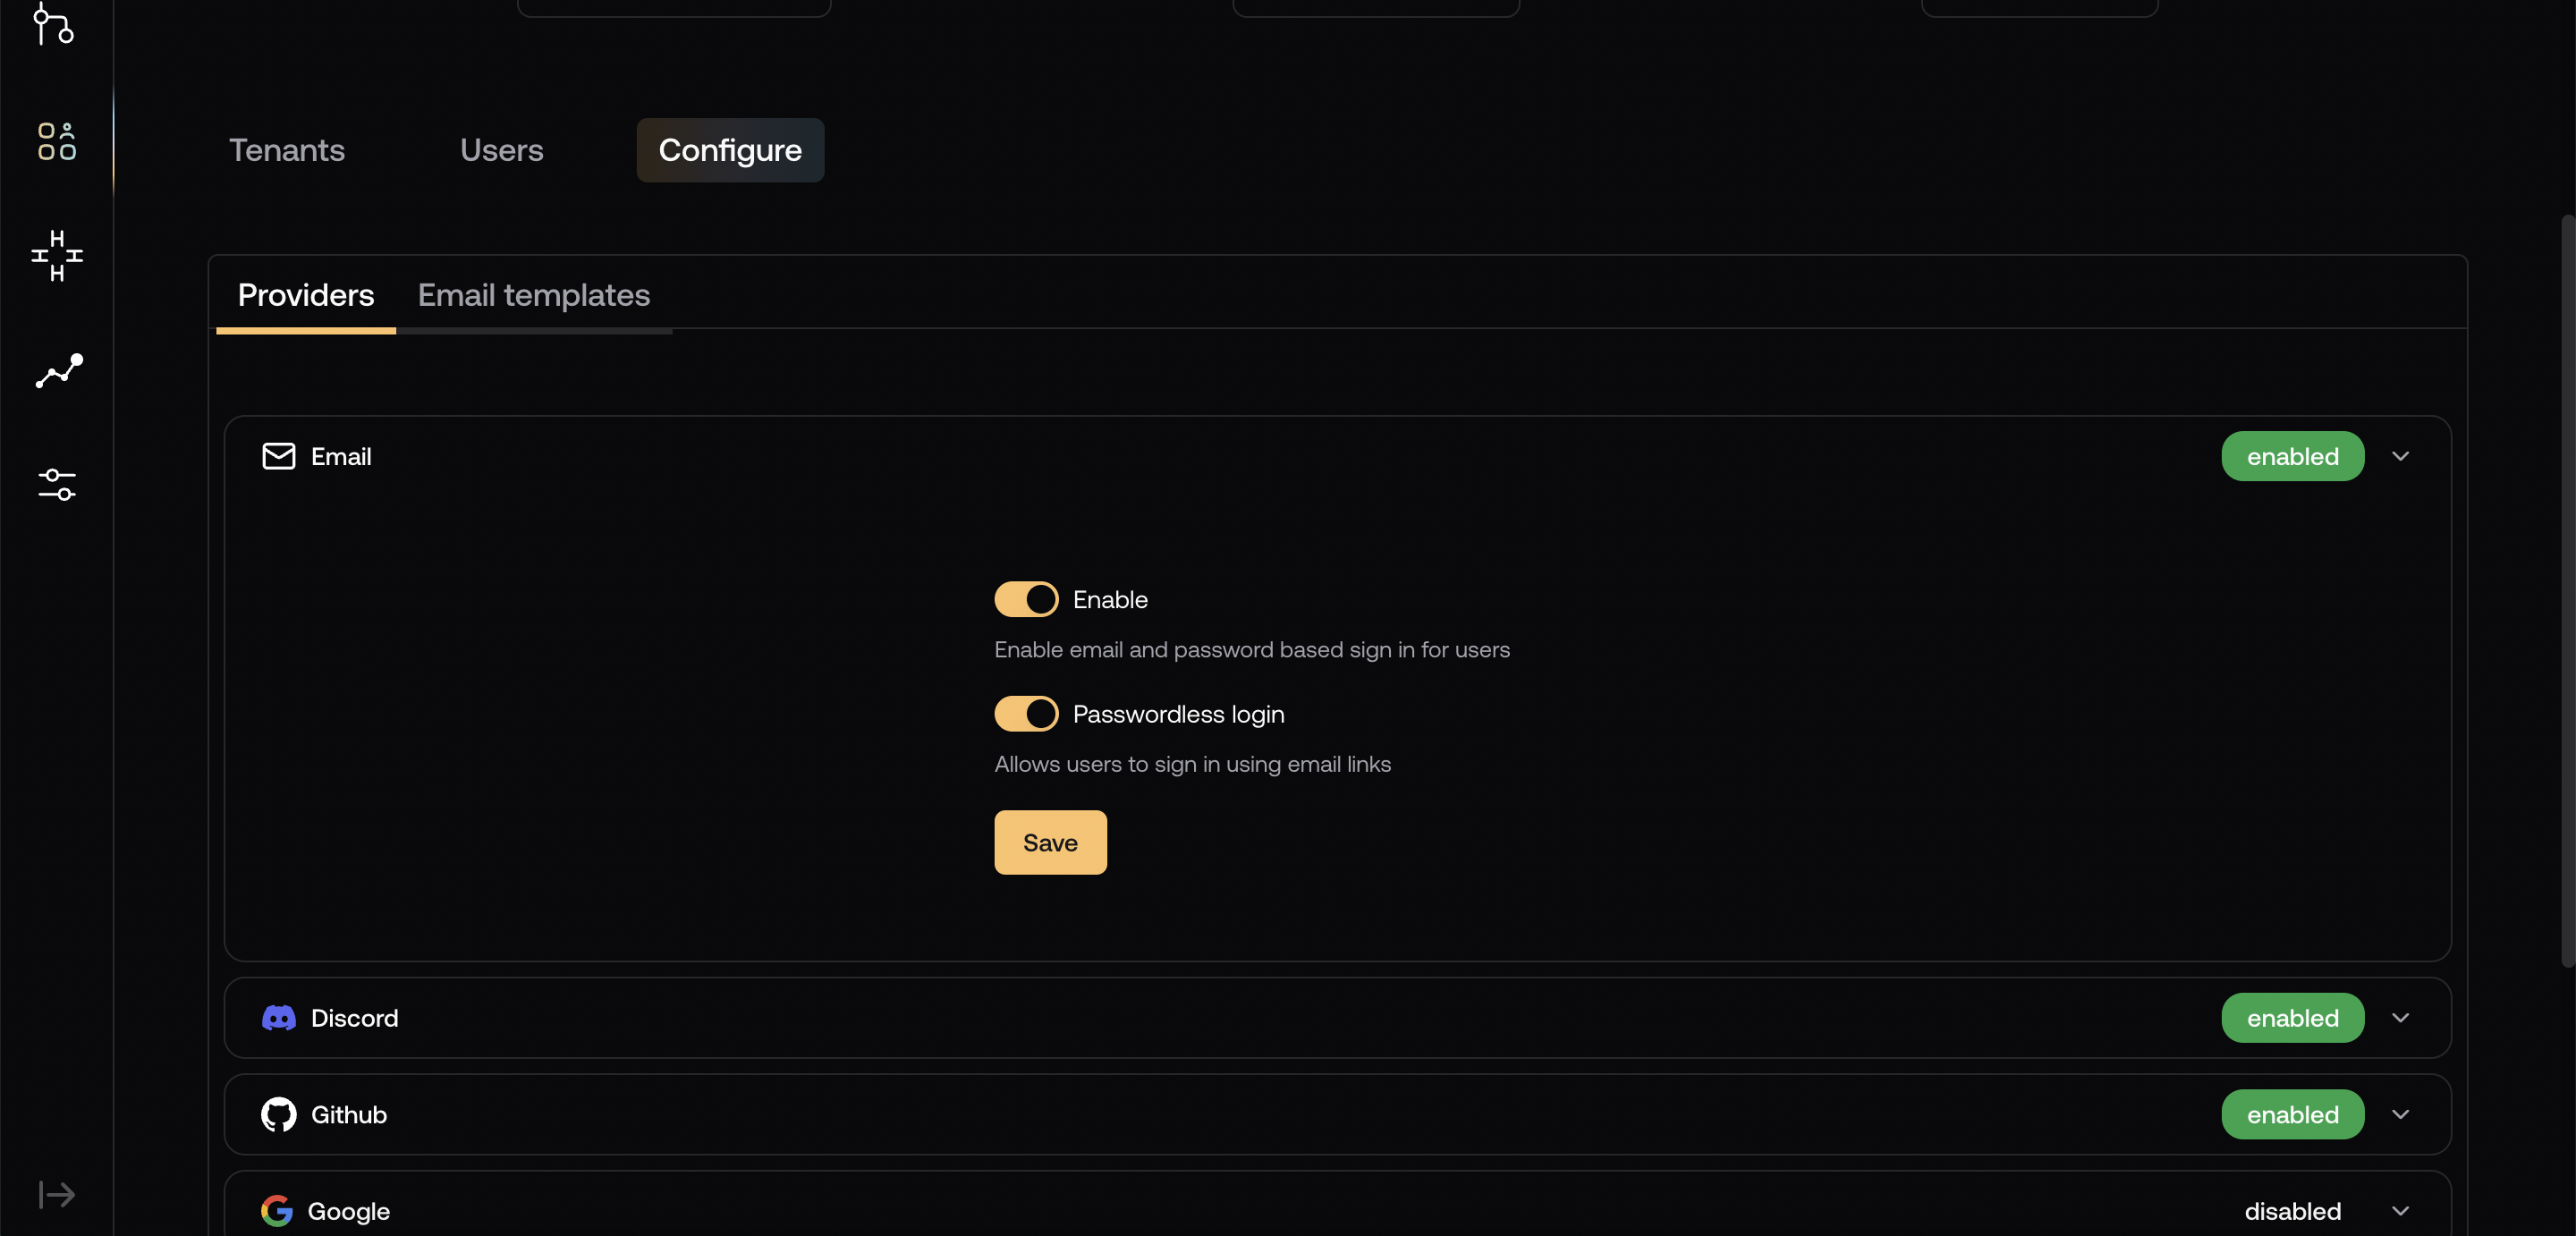
4
Run create-next-app
This guide uses Next.js with App Router, Typescript and Tailwind CSS. If you have a different framework in mind, you can find additional guides under “Frameworks”
in the sidebar. Initialize a new Next.js project with the following command and give it a name:
5
Install dependencies
6
Your application must expose API routes to handle authentication operations.Create a folder called Create following files handle the calls to your server, as well as expose the
api under the app folder and a folder called [...nile] under it:nile instance to your application:app/api/[...nile]/nile.ts
app/api/[...nile]/route.ts
7
Frontend Implementation
The
<EmailSignIn /> component is used to send a magic link to the user’s email address.- Preview
- Component