1

Prerequisites

Nile provides a cloud offering to help build multi-tenant apps. You can also get started with Nile’s Docker image and try Nile locally. Join our discord to give feedback or ask questions about running Nile locally.

  • Docker
  • Postgres client. We’ll use psql in this guide.
2

Run the Docker Container

docker run -p 5432:5432 -p 3000:3000 -ti ghcr.io/niledatabase/testingcontainer:latest

This will start a Postgres database with Nile extensions installed. It will also start Nile Auth (optional). If this is the first time you are running the container, it will also pull the latest image,create the test database and the 00000000-0000-0000-0000-000000000000 user.

3

Connecting to the Database

You can use psql with the following connection string:

psql postgres://00000000-0000-0000-0000-000000000000:password@localhost:5432/test

Or, if you are using a different client, you use the following connection details:

Host: localhost
Port: 5432
Database: test
Username: 00000000-0000-0000-0000-000000000000
Password: password
4

Test Nile Auth

Nile Auth service is running and listening on port 3000. We will do a curl to check if you can reach it and if it is returning the right information. The curl command queries the list of providers. By default, it should only have the email/credential option.

curl http://localhost:3000/v2/databases/01000000-0000-7000-8000-000000000000/auth/providers

Output:

{"credentials":{"id":"credentials","name":"credentials","type":"credentials","signinUrl":"https://null/api/auth/signin/credentials","callbackUrl":"https://null/api/auth/callback/credentials"}}%   
5

Run create-next-app

This guide uses Next.js with App Router, Typescript and Tailwind CSS. If you have a different framework in mind, you can find additional guides under “Frameworks” in the sidebar. Initialize a new Next.js project with the following command and give it a name:

npx create-next-app@latest nile-app --yes
6

Setup environment

Create a .env file in the next app folder that you just created and paste the values below. This will make the Next app that we just created use the local Nile Postgres and Nile Auth.

NILEDB_USER=00000000-0000-0000-0000-000000000000
NILEDB_PASSWORD=password
NILEDB_API_URL=http://localhost:3000/v2/databases/01000000-0000-7000-8000-000000000000
NILEDB_POSTGRES_URL=postgres://localhost:5432/test
7

Install dependencies

npm install @niledatabase/server @niledatabase/react
8

Your application must expose API routes to handle authentication operations.

First, create a folder called api under the app folder and a folder called [...nile] under it:

mkdir -p app/api/\[...nile\]

Create following files handle the calls to your server, as well as expose the nile instance to your application:

/api/[...nile]/nile.ts

import { Nile } from "@niledatabase/server";
export const nile = await Nile();
export const { handlers } = nile.api;

/api/[...nile]/route.ts

import { handlers } from "./nile";
export const { POST, GET, DELETE, PUT } = handlers;
9

Use SDK Components

Your application will interact with above authentication routes using SDK components. Replace the boilerplate app/page.tsx with the following:

/app/page.jsx

import {
SignOutButton,
SignUpForm,
SignedIn,
SignedOut,
TenantSelector,
UserInfo,
} from "@niledatabase/react";
import "@niledatabase/react/styles.css";

export default function SignUpPage() {
return (
    <div className="flex flex-col items-center justify-center min-h-screen">
    <SignedIn className="flex flex-col gap-4">
        <UserInfo />
        <TenantSelector className="py-6 mb-10" />
        <SignOutButton />
    </SignedIn>
    <SignedOut>
        <SignUpForm createTenant />
    </SignedOut>
    </div>
);
}

10

Run and Log in to your application

npm run dev

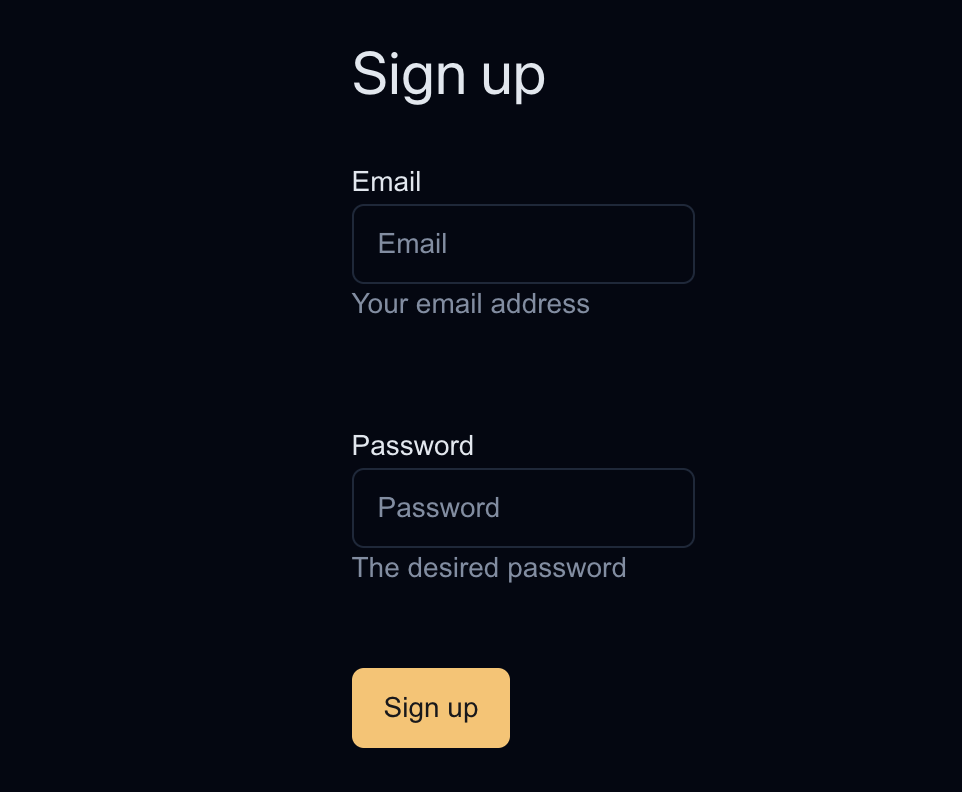
Navigate to localhost to see the page. You should see a signup form that looks like this:

Enter a dummy email and password into the SignUpForm.

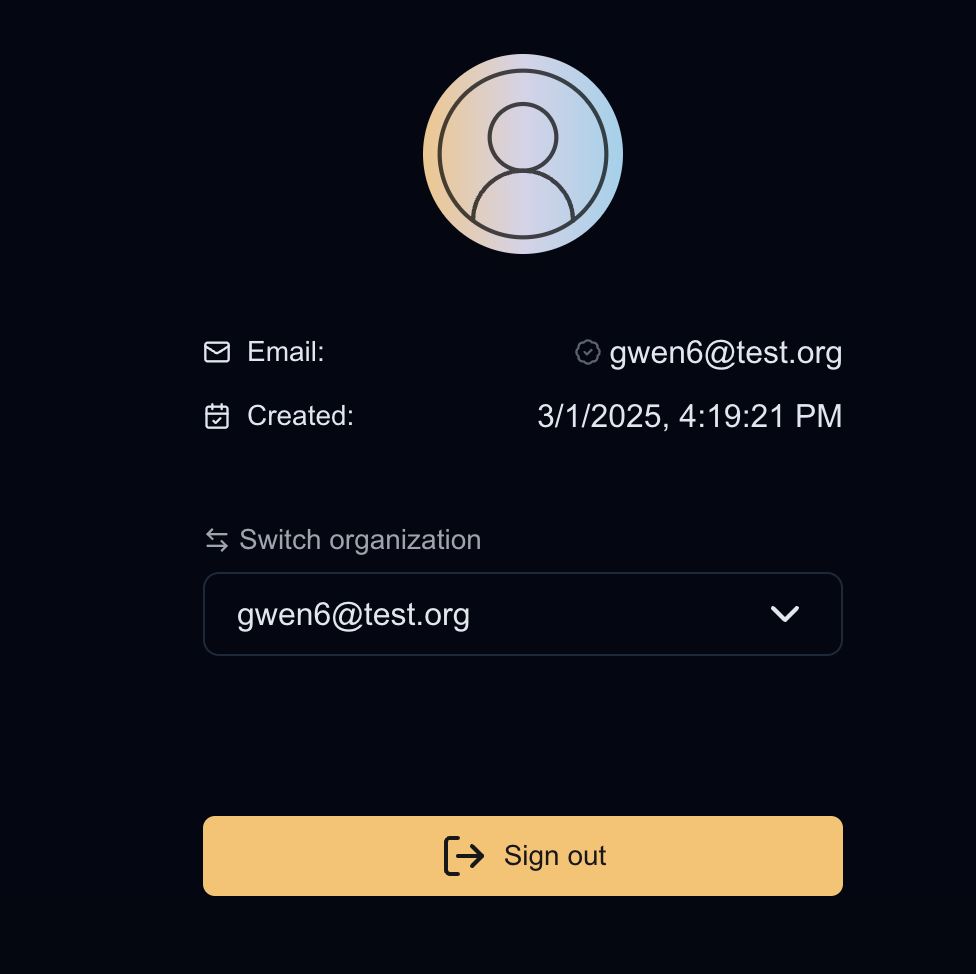
If all went well, you will be logged in automatically and see the user profile and an organization switcher that allows you to create new organizations and switch between them:

Was this page helpful?