
Migration Steps
NextAuth.js is an authentication library, rather than a service. This means that your users, sessions and accounts are stored in a database. If your existing database is PostgreSQL, you can use Nile Auth with the same database and this document will guide you through the migration. Otherwise, you’ll need to migrate your data to PostgreSQL. Data migrations to PostgreSQL are not covered is beyond the scope of this guide, but you can reach out to us for help.1
Migrating NextAuth data to Nile Auth
You can see the schema of the auth tables in Nile Auth in our built-in tables documentation.
If you are using the standard Postgres adapter for NextAuth.js, your schema is documented here. This schema is the same for NextAuth versions 3, 4 and 5 (also called Auth.js).As you can see, there are quite a few similarities between the two schemas. Making the migration relatively straightforward.First, if you are not using Nile, you’ll need to create the tables as documented.Assuming you have these tables, either built into Nile or created by yourself, you’ll need to migrate the data from the NextAuth.js tables to the Nile Auth tables. In the example queries below, I’m assuming that the NextAuth.js tables are in the To copy the data from the NextAuth.js users table to the Nile Auth users table, you can use the following query:Sessions tableThe sessions table in Nile Auth is almost identical to the one in NextAuth.js.
We just need to convert the user IDs to be Nile Auth user IDs instead of NextAuth.js user IDs.Verification Tokens tableThe verification tokens table in Nile Auth is identical to the one in NextAuth.js. No changes are needed.Accounts / Credentials tableNile Auth uses the
nextauth schema. Modify the queries below to match your schema.Users tableNile Auth uses uuid type for the id column, while NextAuth.js uses serial type (which is actually an integer).
Since there is no automatic conversion between these types, we recommend adding a new column to store the NextAuth.js user id,
allowing you to keep existing references to these IDs intact.auth.credentials table to store account information instead of the accounts table.
The query below will migrate the data from the accounts table to the credentials table.2
Linking users to tenants
Nile Auth is a multi-tenant authentication service. By linking users to tenants,
you can control their access to resources in your application and use Nile Auth organization components in your application.This section assumes that you are already using Nile as your database, your tenants exist in
tenants table, and your data is in tenant-aware tables with tenant isolation.
Migrating data from existing database into Nile’s virtual tenant databases is out of scope for this guide, but you can reach out to us for help.In order to link users to tenants, you’ll need to populate the users.user_tenants table with the relationships between users and tenants.
You’ll need to convert the current mapping of NextAuth.js users to tenants to the new Nile Auth user_tenants table.For example, if you have a memberships table with this mapping, you can use the following query to migrate the data:3
Social Providers
If you used social identity providers with , you will need to configure the same providers in Nile Auth.You can configure social providers by going to “Tenants and Users” page in Nile Console
and selecting the “Providers” tab.Simply click on the provider you want to configure and you’ll see the provider configuration page.
All providers use OAuth, so you’ll need to provide the OAuth client ID and secret. It is recommended to use the same client
ID and secret as the one used in . And to use the same redirect URI in the social provider configuration.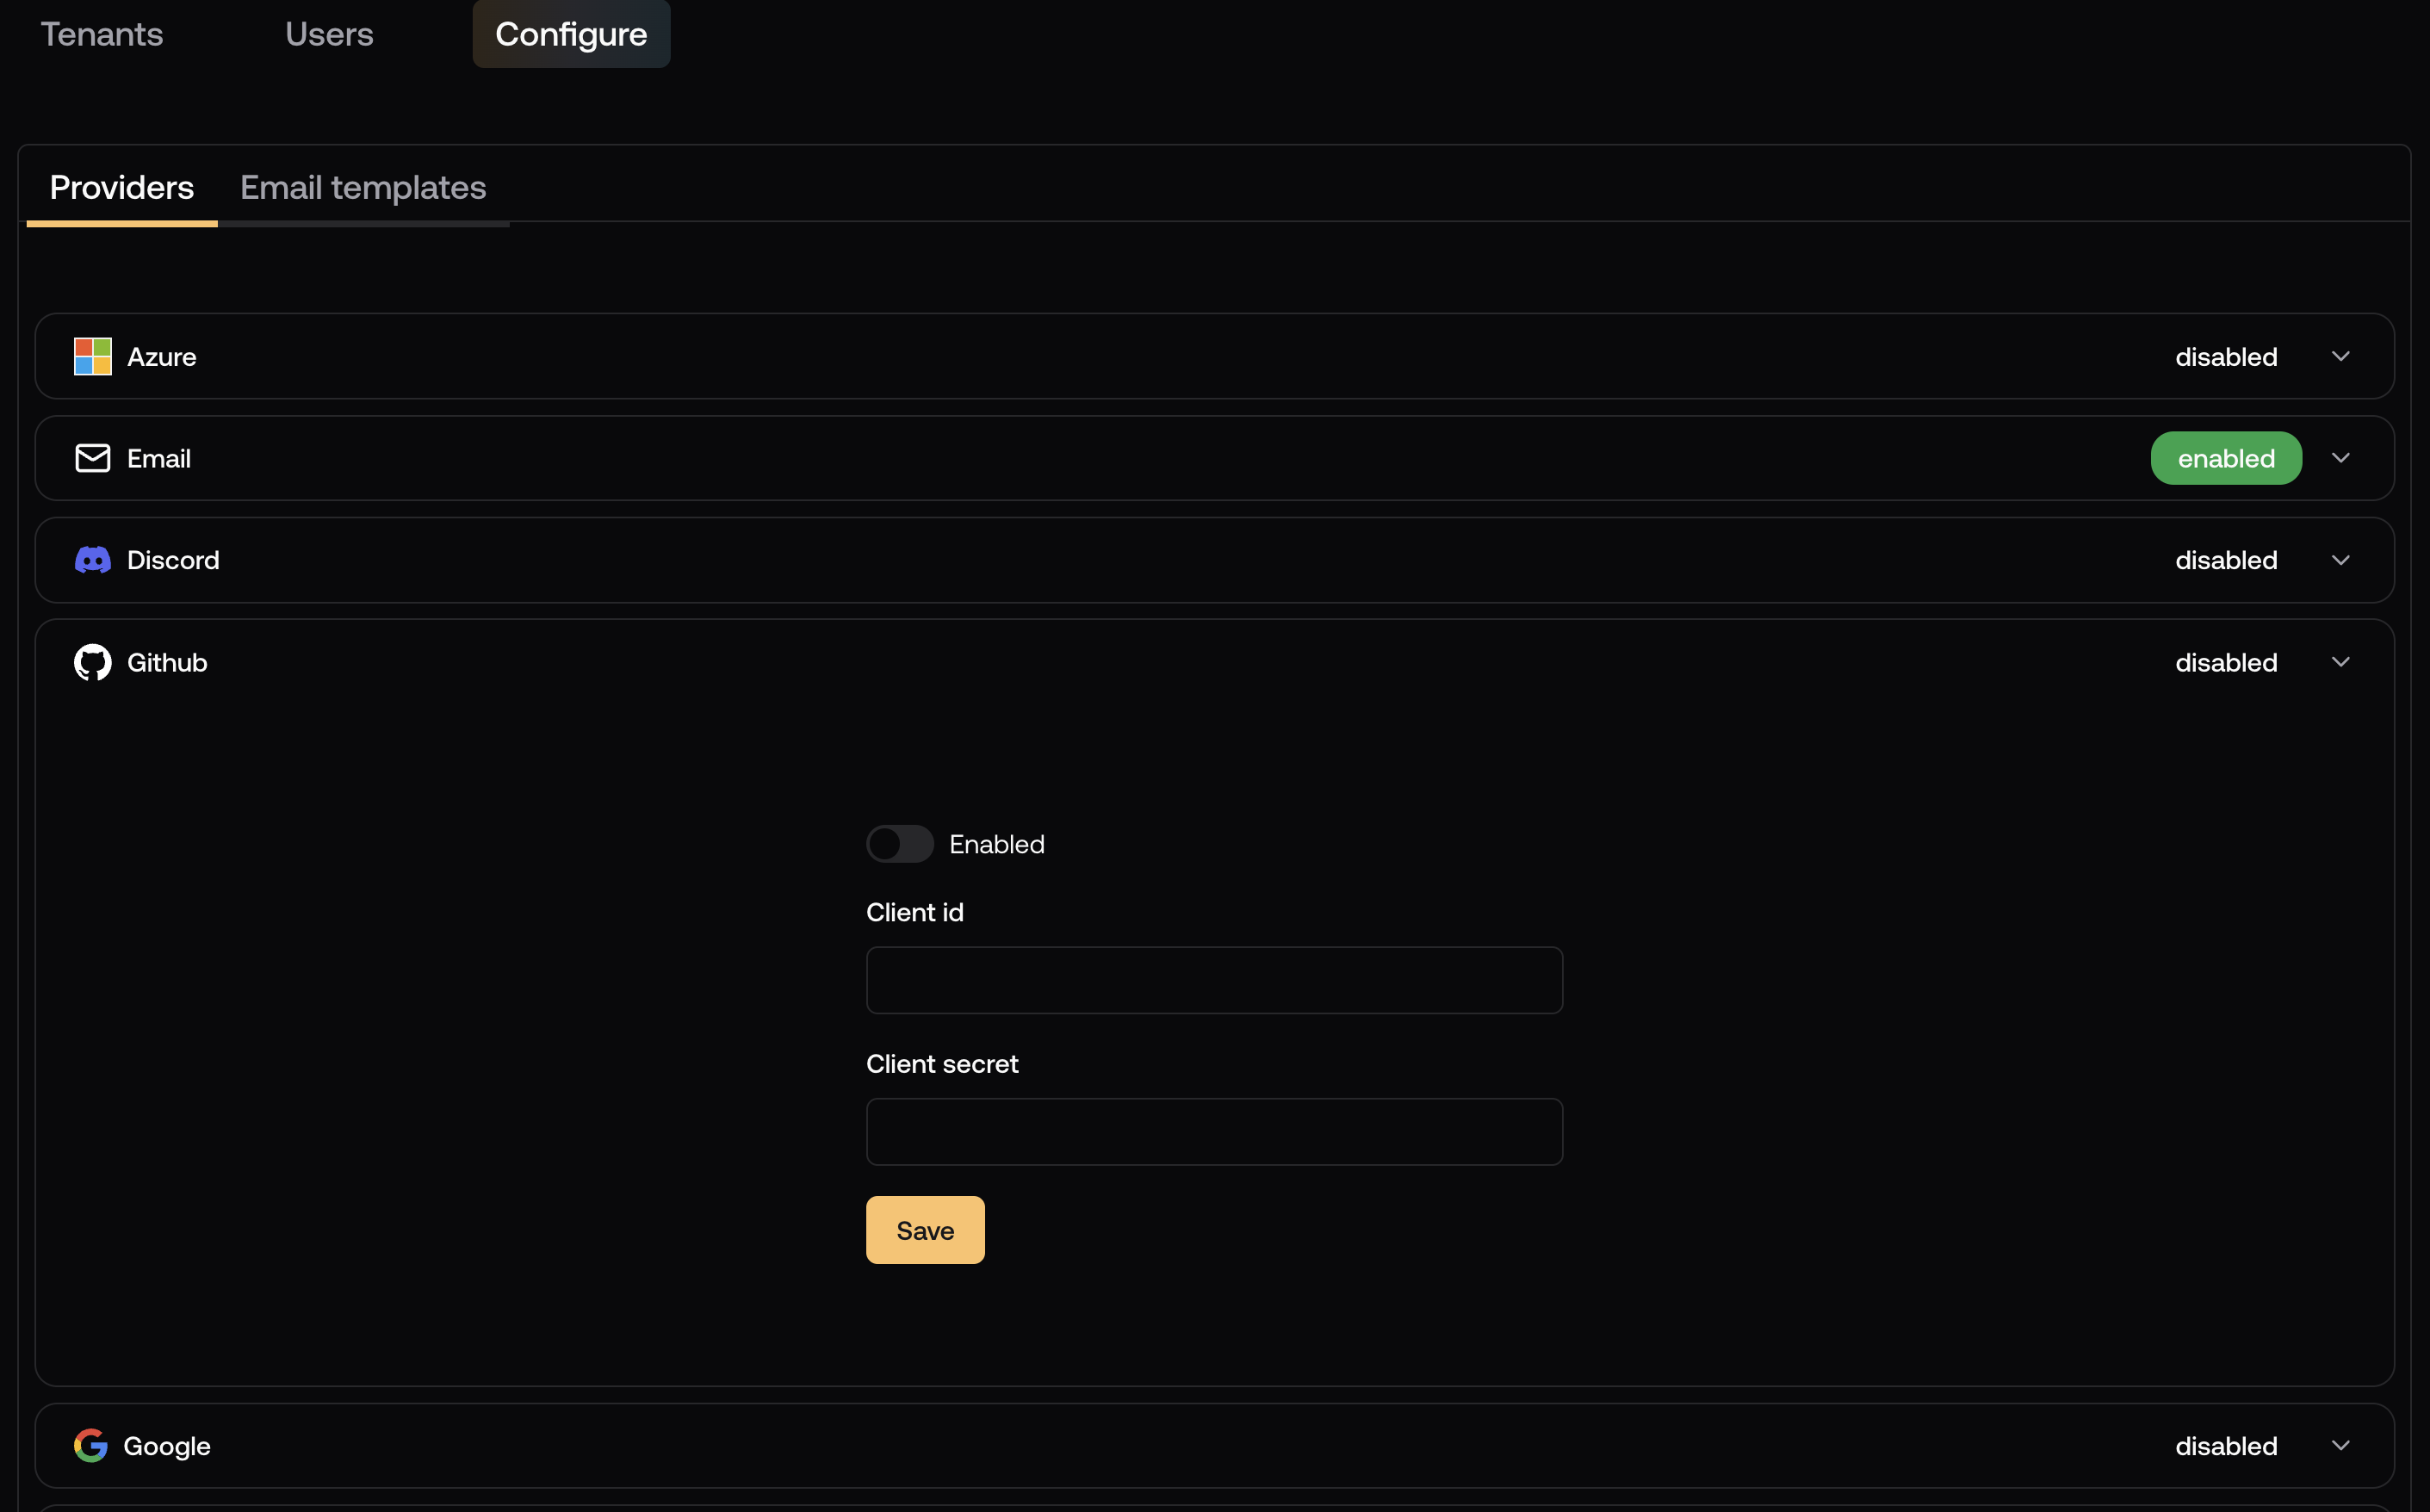
4
Passwordless Authentication
If you used NextAuth.js passwordless authentication, you’ll need to configure your SMTP server and email templates in Nile Auth.
Refer to the email configuration guide to learn how to do this.
5
Application Migration
In addition to the data migration, you’ll need to update your application to use Nile Auth.Refer to the NextJS guide to learn how to set up Nile Auth environment variables and routes in your application.
These will replace the NextAuth.js routes in your application.NileAuth routes are purely backend and do not serve any frontend content. This means that you’ll need to create login/signup pages in your application with
Nile’s customizable components. The NextJS guide above has examples of how to do this.
Testing
We recommend you do thorough testing in a staging environment before migrating to production. Before starting a migration, both in staging and in production, we recommend you create a few test users and organizations in your existing auth provider. Make sure you have a mix of email/password, passwordless and social providers users. Then, after migrating to Nile Auth, test the following (both in test and in production):- Sign up and sign in with email/password, passwordless and social providers.
- Sign in with email/password, passwordless and social providers.
- Sign out
- Reset password
- Email verification
- Validate that the users have access to the correct organizations.
Best Practices
Here are some recommended practices for a smooth migration from Auth0 to Nile Auth:- Staged Migration: Consider migrating users in batches rather than all at once. Start with a small subset of non-critical users or test accounts. Monitor for issues and gather feedback before proceeding with larger groups. This will allow you to test the migration and make sure it works as expected before migrating all users. The “fallback strategy” described in the migration steps can be used to support both Auth0 and Nile Auth during the migration.
- Communication Plan: Notify users well in advance of the migration. Provide clear instructions for any actions they n eed to take (like password resets). Set up support channels for users who encounter issues during the transition.
- Backup and Rollback Plan: Keep backups of all Auth0 data before starting the migration. Maintain the Auth0 configuration until the migration is complete and verified. Have a clear rollback plan in case of critical issues.
- Monitoring and Validation: Set up monitoring for authentication failures during and after migration. Implement logging to track successful and failed migrations. Validate user counts and access permissions after migration.