
1
Create a database
- Sign up for an invite to Nile if you don’t have one already
- You should see a welcome message. Click on “Lets get started”
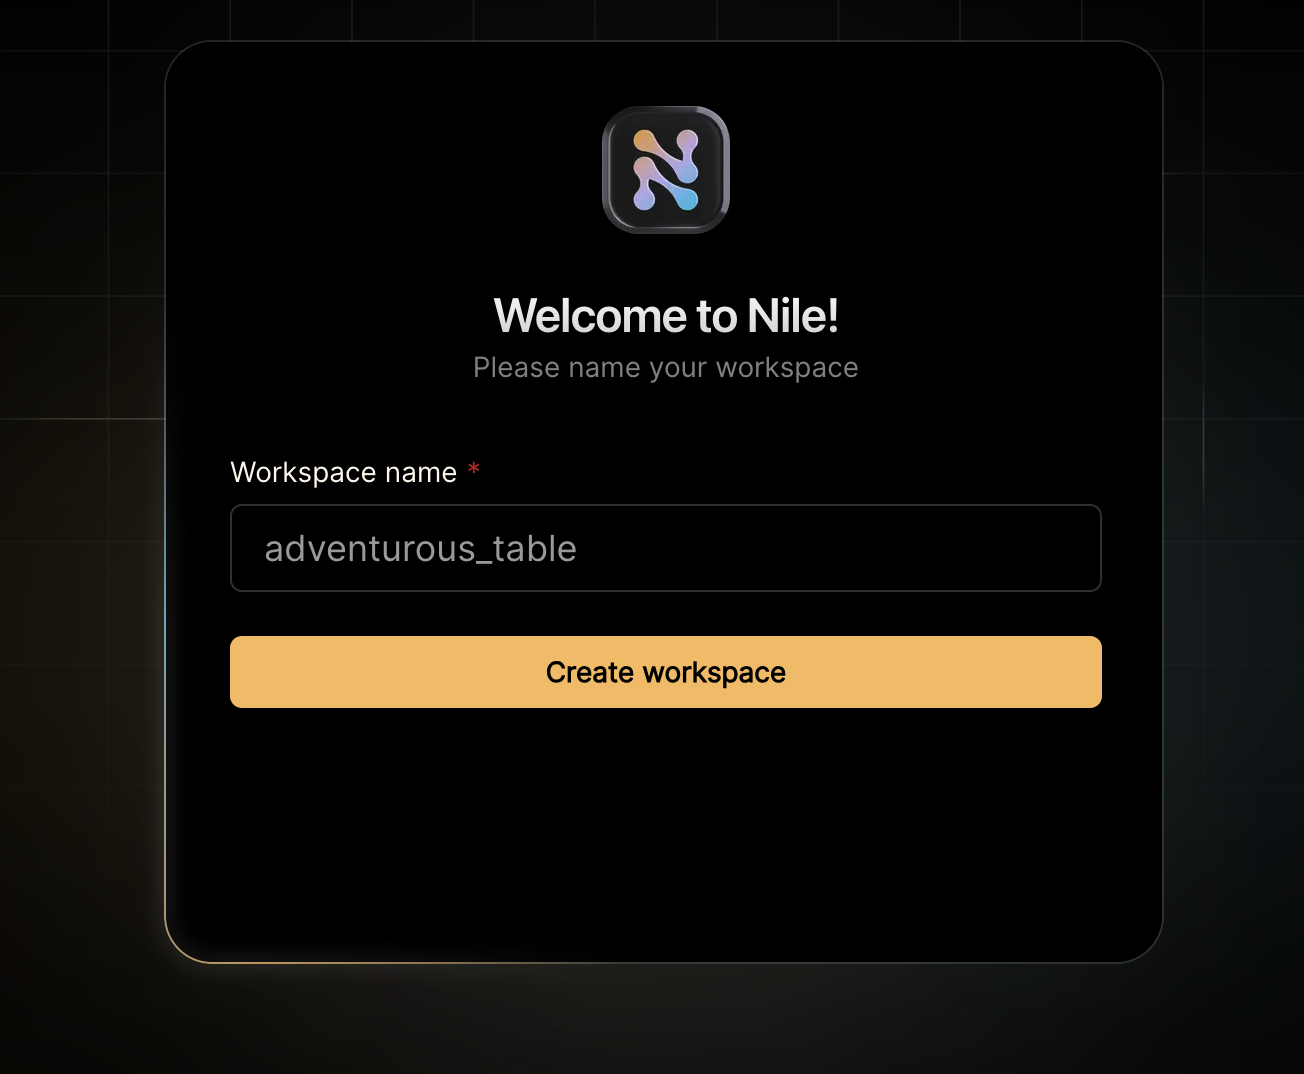
- Give your workspace and database names, or you can accept the default auto-generated names. In order to complete this quickstart in a browser, make sure you select to “Use Token in Browser”.
2
Create a table
Lets imagine that we are building a todo list app that maintains task for each tenant/customer and also uses AI to predict the time required to complete the task.Let us create our first table that has a tenant_id column and a vector:You will see the new table in the panel on the left side of the screen, and you can expand it to view the columns. If you are in 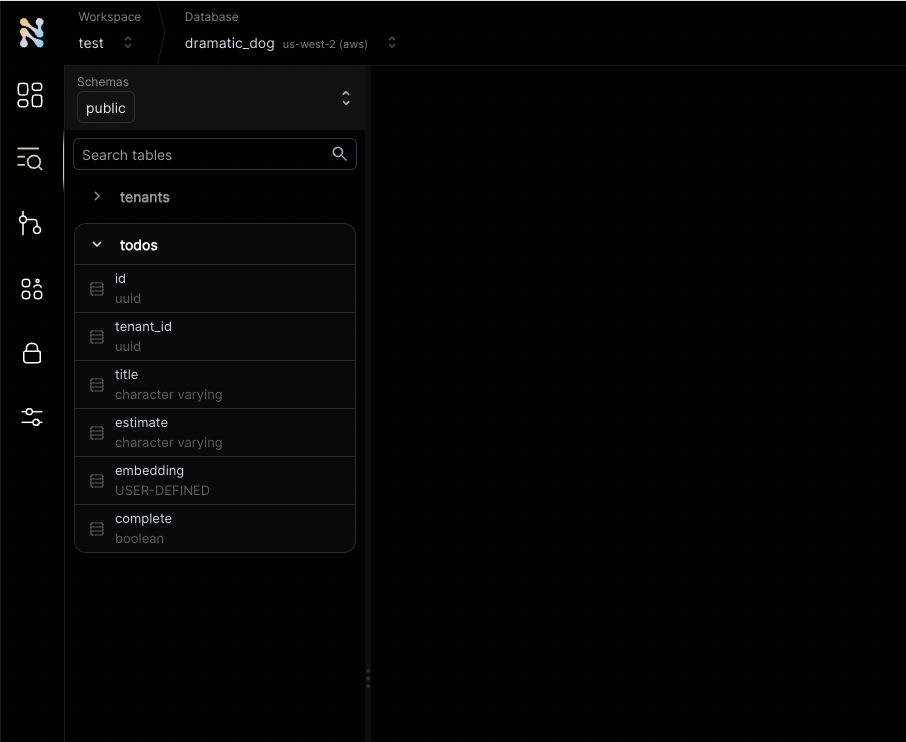
psql, you can do \d todos in order to view the schema.See the tenant_id column? By specifying this column, You are making the table tenant aware. The rows in it will belong to specific tenants. If you leave it out, the table is considered shared, more on this later.3
Insert first tenant/customer
Nile ships with built-in tables, like
tenants table that you used earlier. They are covered in more depth in our concepts documentation.Meanwhile, lets insert a tenant into the built-in tenant table:4
Insert first todo task
Now, with the new tenant created, lets insert a record to the “todos” table. For the first task, we simply retrieve the embedding and the estimate from the large language model using the title of the task.
Let us assume we got the embedding and the estimate from the model as [1,2,3] and 1hIf all went well, you’ll see the first todo of your first customer 🏆
5
Add another tenant and todo
It is now time for our second customer and their todo item:If all went well, you now see the todo items for both customers:
6
Try tenant isolation
Nile goes a step further and provides tenant isolation. You can set the session to a specific tenant, and every query that follows will only return data that belongs to this specific tenant.Think of it as querying a virtual database dedicated to a tenant.You can select a tenant either from the drop-down list next to the ▶️ button. Or by setting the session parameter in SQL.If all went well, you’ll see the todo task for second customer” and not the first customer:
7
Use vector similarity with tenant isolation
The embedding for the new todo task is calculated first from the LLM (let’s say this is [0.78,0.18,0.62]). We will get similar tasks for the second customer based on the new task’s embedding.
Note that we don’t need to specify the second customer in the query since the session is already pointing to the second customer’s virtual DB.We can now ask the LLM to estimate the time for the new task by providing the estimates for similar tasks for the second customer.
Assume the LLM returned 1.5h.Note that you only see the two tasks for the second customer. This is because the session is still pointing to the second customer’s virtual DB.
8
What's next?
🏆 Tada! You have learned the key Nile concepts. And it only took 5 minutes.You can learn more about Nile’s tenant virtualization features in the following tutorials:Next, you will probably want to learn how to use Nile for building an app in your favorite language.
Check out our Getting Started guides for more information.