1

Install packages

  npm install @niledatabase/server @niledatabase/client
  yarn add @niledatabase/server @niledatabase/client
  pnpm add @niledatabase/server @niledatabase/client
2

Obtain Database Credentials

  1. If you haven’t signed up for Nile yet, sign up here and follow the steps to create a database.
  2. Navigate to Database Settings in your database’s UI at console.thenile.dev.
  3. Go to Connection settings.
  4. Select the CLI icon, and click Generate credentials Generate credentials
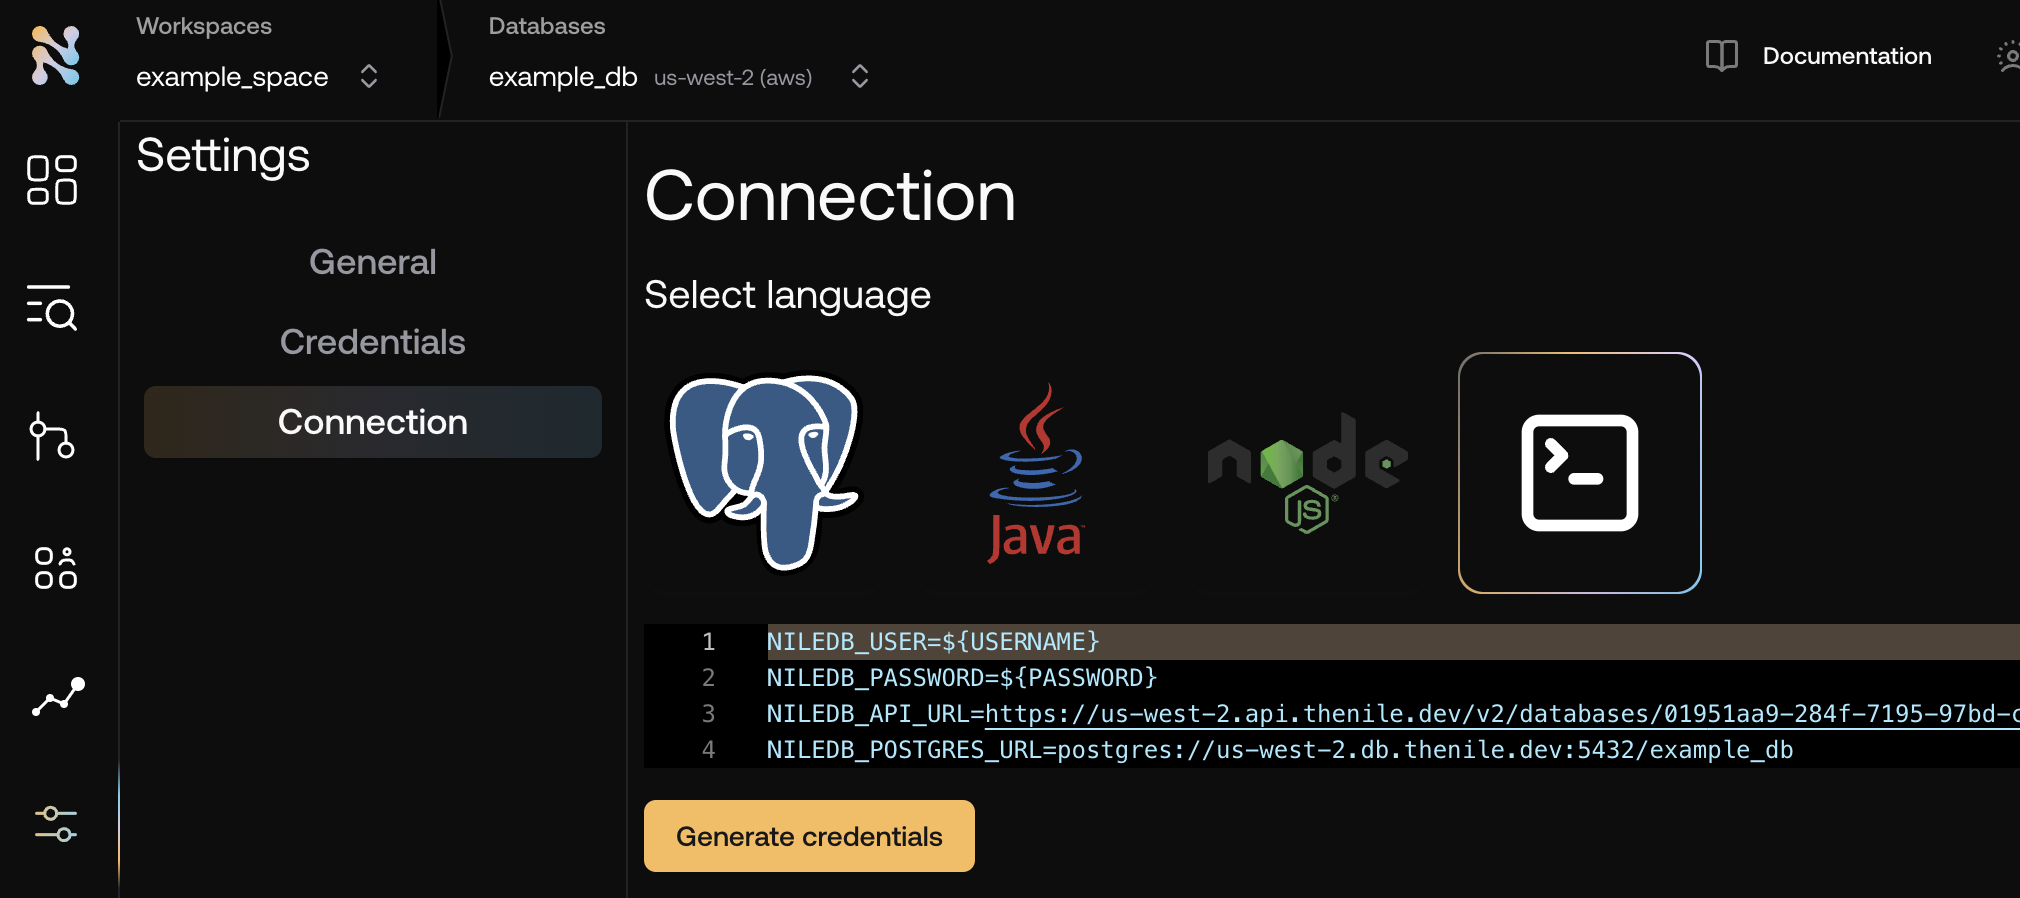
  5. Copy the required credentials and store them in an .env file so they can be used in the application to connect to the Nile auth service.
    .env
    NILEDB_USER=niledb_user
    NILEDB_PASSWORD=niledb_password
    NILEDB_API_URL=https://us-west-2.api.thenile.dev/v2/databases/<database_id>
    NILEDB_POSTGRES_URL=postgres://us-west-2.db.thenile.dev:5432/<database_name>
    
3

Import and configure the nile-auth instance

import { Nile } from '@niledatabase/server';
import { nextJs } from '@niledatabase/nextjs';
export const nile = Nile({ extensions: [nextJs] });
import { Nile } from '@niledatabase/server';
export const nile = Nile();
import { Nile } from '@niledatabase/server';
import { express } from '@niledatabase/express';
export const nile = Nile({ extensions: [express(app)] });
import { Nile } from '@niledatabase/server';
import { nitro } from '@niledatabase/nitro ';
export const nile = Nile({ extensions: [nitro] });
import { Nile } from '@niledatabase/server';
export const nile = Nile();
4
To handle requests, set up a route handler on your server.
// app/api/[...nile]/route.ts
import { nile } from "@/nile"; // path to nile instance
export const { POST, GET, DELETE, PUT } = nile.handlers;
// app/routes/api.$.ts`
import type { LoaderFunctionArgs, ActionFunctionArgs } from "@remix-run/node"
import { nile } from "~/nile"; // the nile instance

export const loader = async ({ request }: LoaderFunctionArgs) => {
  const method = request.method.toUpperCase();
  return nile.handlers[method](request)
};

export const action = async ({ request }: ActionFunctionArgs) => {
  const method = request.method.toUpperCase();
  return nile.handlers[method](request)
};
// server.ts
import { Nile } from "@niledatabase/server";
import { express } from "@niledatabase/express";
const nile = Nile({ extensions: [express(app)] });
import { nile } from "~/nile"; // the nile instance
import { convertToRequest } from '@niledatabase/nitro'
 
export default defineEventHandler((event) => {
    return convertToRequest(event, nile);
});

async function startServer(req, res) {
try {
const method = req.method?.toUpperCase() as 'GET' | 'POST' | 'PUT' | 'DELETE';

    if (!method || !nile.handlers[method]) {
      res.writeHead(405, { 'Content-Type': 'text/plain' });
      return res.end('Method Not Allowed');
    }

    const url = `http://${req.headers.host}${req.url}`;
    const bodyChunks: Uint8Array[] = [];

    req.on('data', chunk => bodyChunks.push(chunk));
    req.on('end', async () => {
      const body = Buffer.concat(bodyChunks);
      const request = new Request(url, {
        method,
        headers: req.headers as HeadersInit,
        body: method === 'POST' || method === 'PUT' ? body : undefined,
      });

      let response;
      try {
        response = await nile.handlers[method](request);
      } catch (err) {
        console.error(err);
        res.writeHead(500, { 'Content-Type': 'text/plain' });
        return res.end('Internal Server Error');
      }

      res.writeHead(response.status, Object.fromEntries(response.headers.entries()));
      const respBody = await response.text();
      res.end(respBody);
    });

} catch (err) {
console.error(err);
res.writeHead(500, { 'Content-Type': 'text/plain' });
res.end('Unexpected Server Error');
}
};

5

Call APIs with the nile-auth client

nile-client.ts
import { getSession, signUp } from '@niledatabase/client'
With that, you’ve successfully set up nile-auth in your application. Continue on to Social providers, or check out how to integrate into specific frameworks