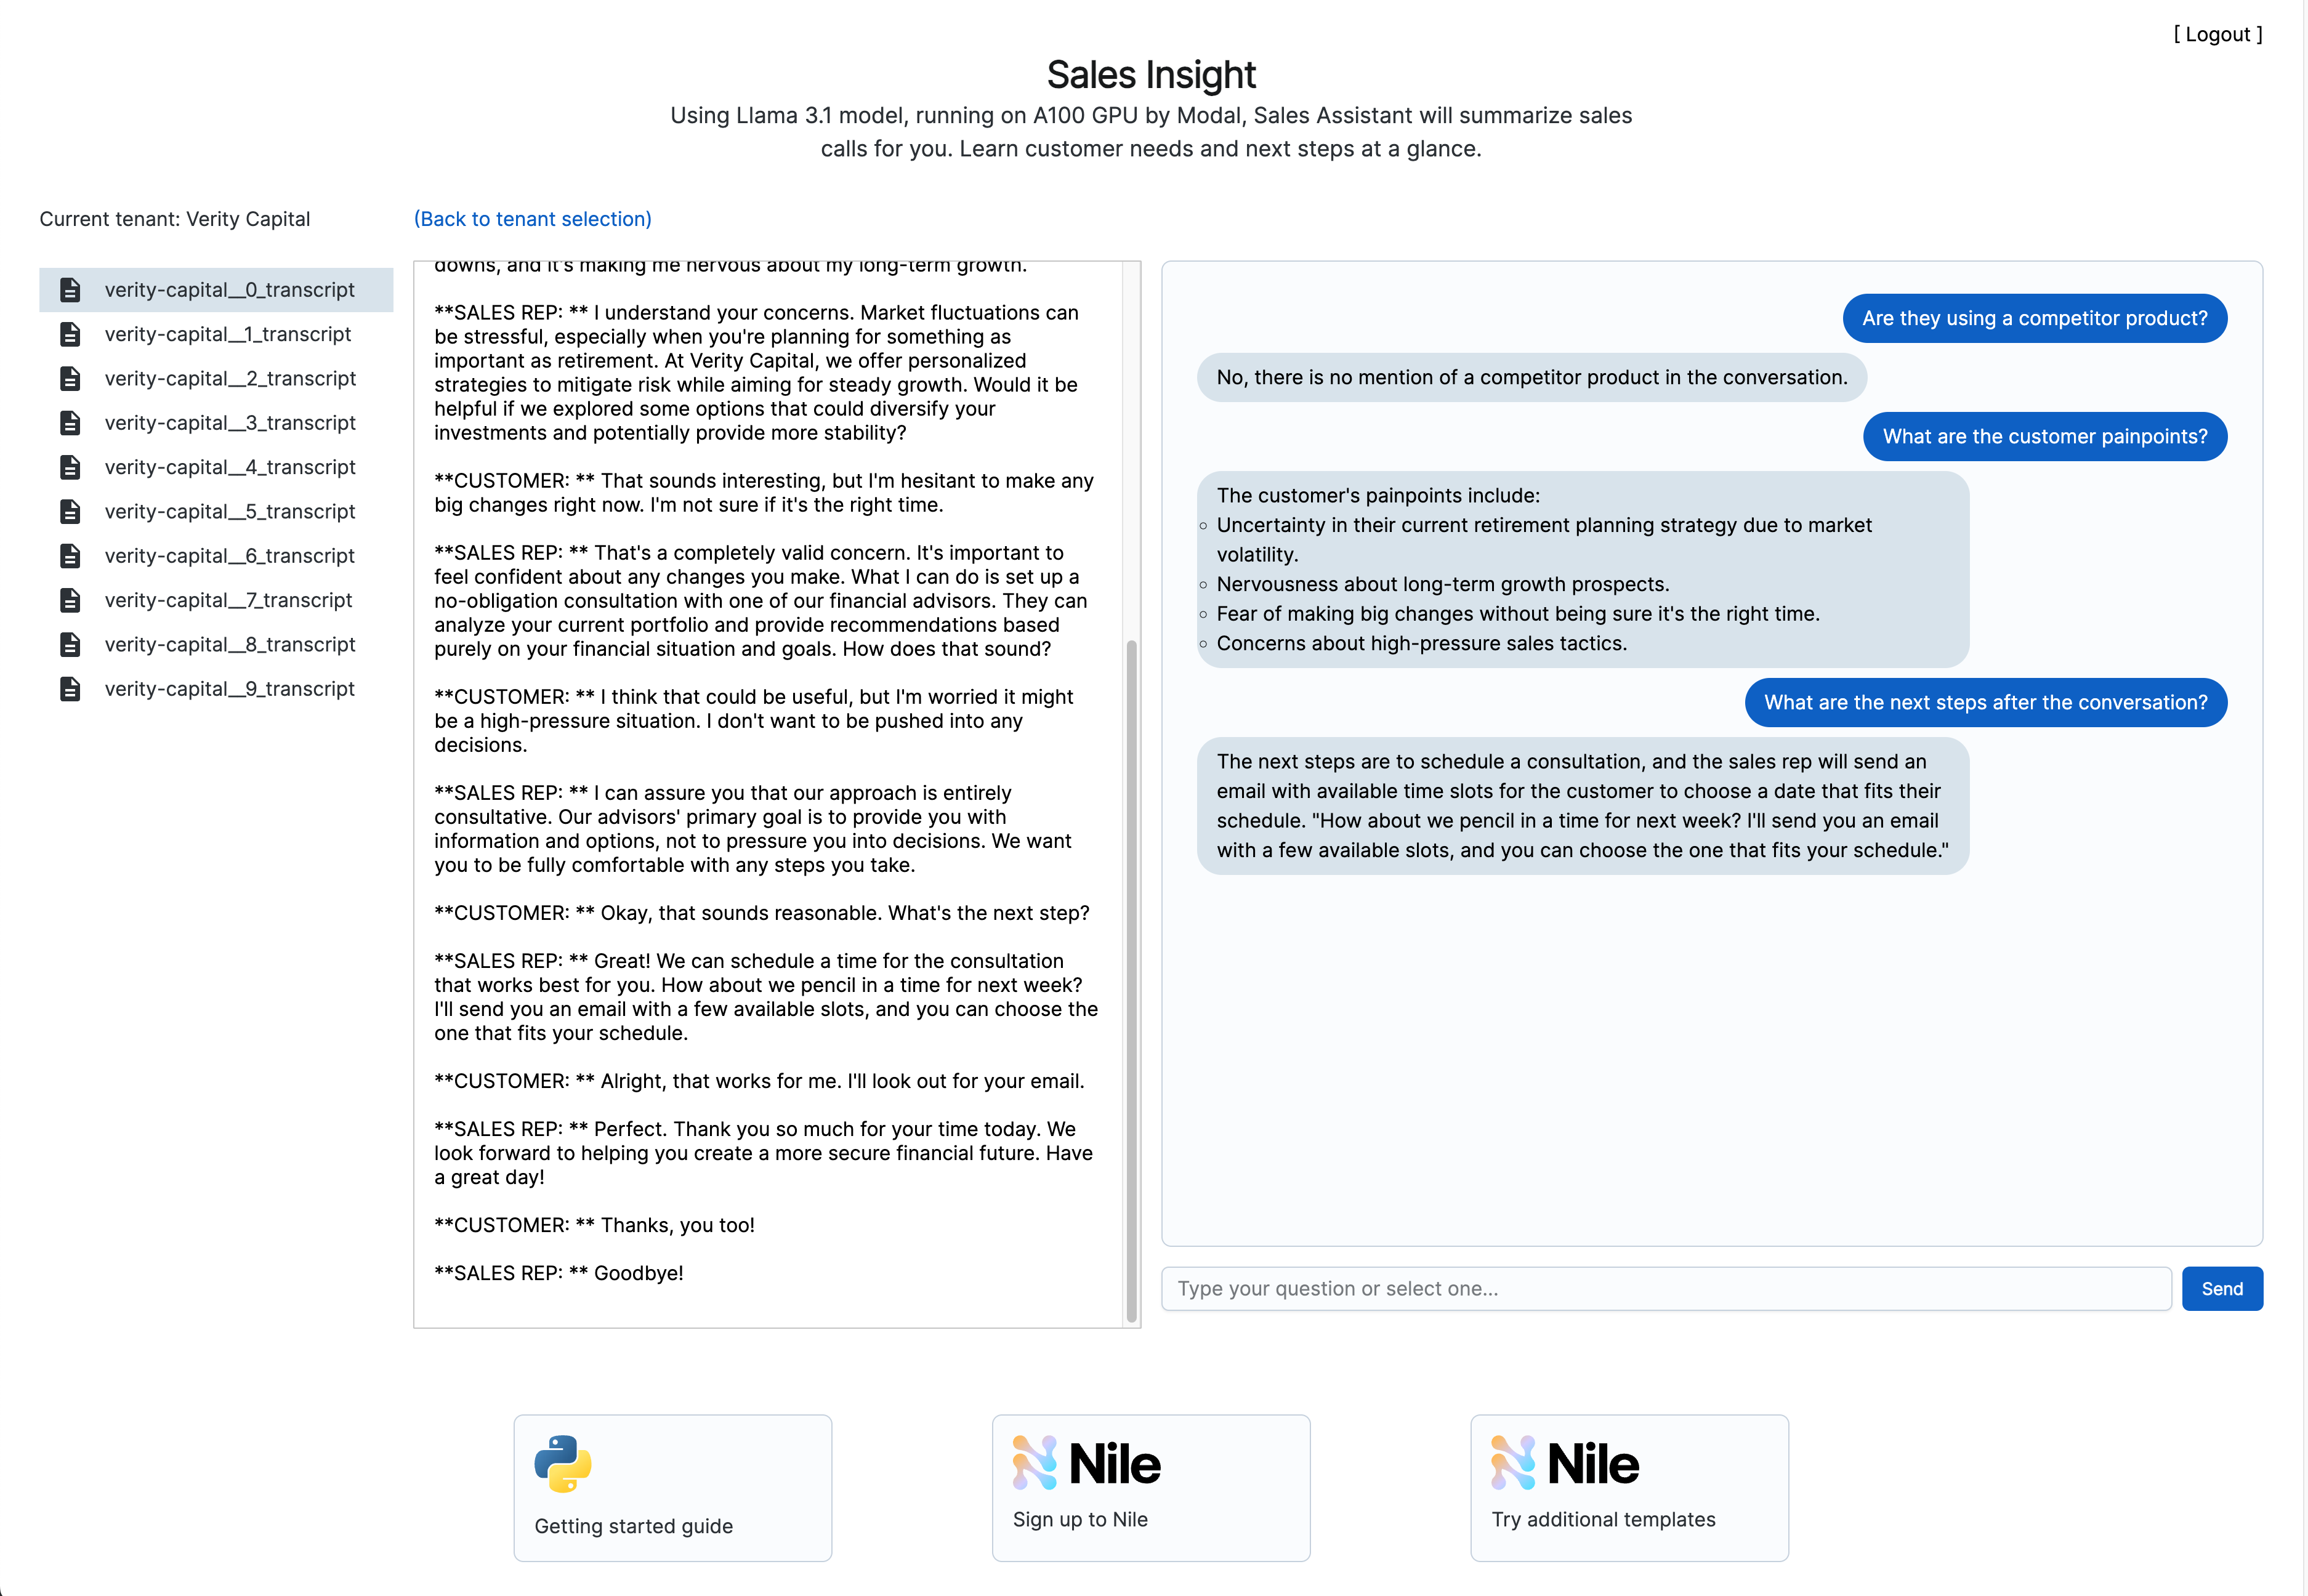
text-embedding-3-small model and stored in Nile with the relevant chunks of the transcripts.
The response to each question is generated by querying the code snippets table using pg_vector extension, and then sending the relevant documents to
the Llama 3.1 7B model, deployed on A100 GPU from Modal. The response is streamed back to the user in real-time.
Because of Nile’s virtual tenant databases, the retrieved transcripts will only be from the tenant the user selected.
Nile validates that the user has permissions to view this tenant’s data. No risk of accidentally retrieving code that belongs to the wrong tenant.
1. Create a database
- Sign up for a Nile account if you don’t have one already
- You should see a welcome message. Click on “Lets get started”
- Give your workspace and database names, or you can accept the default auto-generated names.
2. Create tables
After you created a database, you will land in Nile’s query editor. Create the following table for storing our embeddings:embedding column is of type vector(1536). Vector type is provided by the pg_vector extension for storing embeddings.
The size of the vector has to exactly match the number of dimensions in the model you use.
The table has tenant_id column, which makes it tenant aware. By storing embeddings in a tenant-aware table, we can use Nile’s built-in tenant
isolation to ensure that sales transcripts won’t leak between tenants.
If all went well, you’ll see the new table in the panel on the left hand side of the query editor. You can also see Nile’s built-in tenant table next to it.
You can also explore the schema in the “Schema Visualizer”
3. Getting Nile credentials
In the left-hand menu, click on “Settings” and then select “Credentials”. Generate credentials and keep them somewhere safe. These give you access to the database. In addition, you’ll need the API URL. You’ll find it under “Settings” in the “General” page.4. Third party dependencies
This project uses Modal for hosting the web application and the LLM. You will need to have a Modal account, set up the Modal CLI, nd link your Nile credentials to your Modal account. Our Modal Integration doc will help you through this. We are also using Hugging Face for the Llama 3.1 7B model. You will need to have a Hugging Face account for this, and an HuggingFace API key. Set up the API key as a secret in Modal using Hugging Face integration. We are using OpenAI to generate embeddings for sales transcripts and questions. You will need to have an OpenAI account and an OpenAI API key. Store the OpenAI key as a secret in Modal. The way this example is set up, you’ll want to create a secret called “embedding-config” and store two keys in it:OPENAI_API_KEY and EMBEDDING_MODEL (e.g. text-embedding-3-small).
5. Setting the environment
-
If you haven’t cloned this project yet, now will be an excellent time to do so. Since it uses NextJS, we can use
create-next-appfor this: -
Create a
.envfile and add your Nile connection string: -
Install dependencies with
pip install -r requirements.txt
6. Loading data
We prepared example data, that is already chunked and embedded. This will let you start faster and save on OpenAI credits. To get the prepared data, you need to:- Install git-lfs. You can download from their website or “brew install git-lfs”
git lfs install- Upload your SSH public key to your Hugging Face account.
- Configure
sshto use the key you just uploaded to Hugging Face when accessing the repo. You’ll need to put this snippet in your.ssh/configfile:
- Clone the repo with: git clone https://huggingface.co/datasets/gwenshap/sales-transcripts/resolve/main/README.md
- Copy the data directory to the root of the example app:
cp -r sales-transcripts/data .
7. Download the Llama 3.1 7B model to Modal
This step is important, as it will take a while to download the model and its weights, and you don’t want to do it on every deployment.8. Building the UI
The example has a React frontend. We pre-build it with Vite and then serve the static files in the Modal app.9. Running the app
You run the app in Modal. We will start by running it indev mode, which will start a modal app and a web server.
This will let you see the logs in the console, and it will automatically re-deploy if you make changes.
select * from users in the query editor.
Once you choose a tenant, you select a sales transcript and can ask questions about the transcript.
