> ## Documentation Index
> Fetch the complete documentation index at: https://thenile.dev/docs/llms.txt
> Use this file to discover all available pages before exploring further.
# Connecting to Postgres using PgAdmin
This guide will walk you through the steps to connect to Nile using PgAdmin.
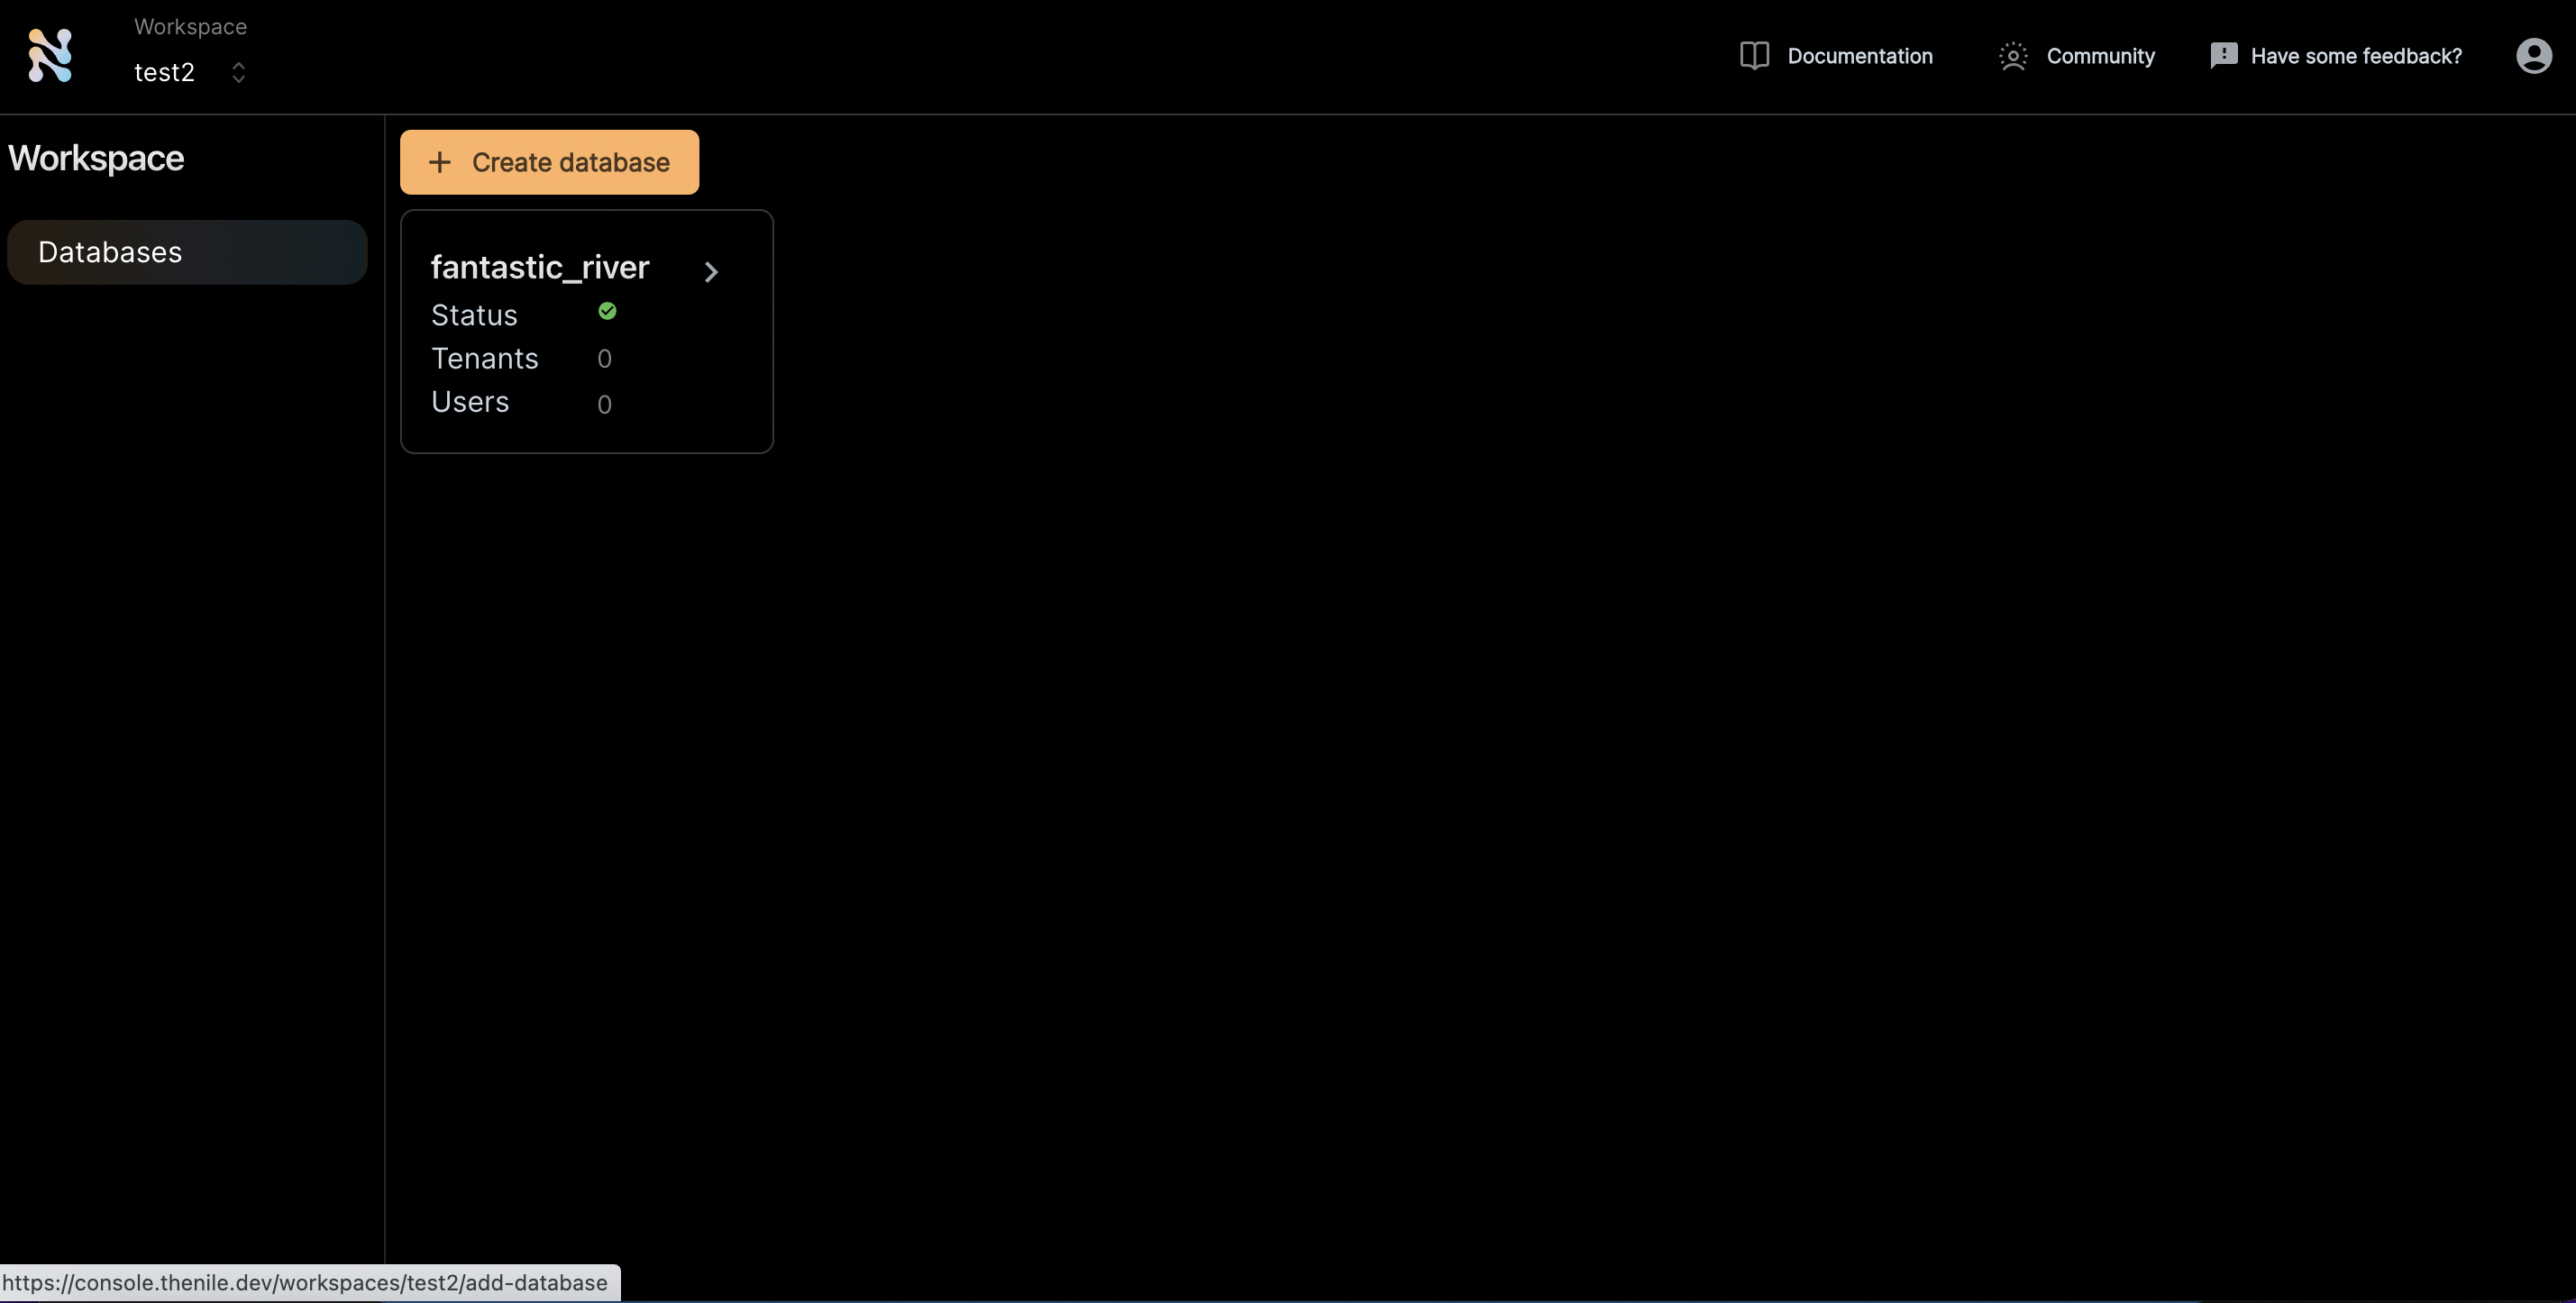
1. Create a Nile's Postgres database through the UI or use one of your existing databases to follow along.
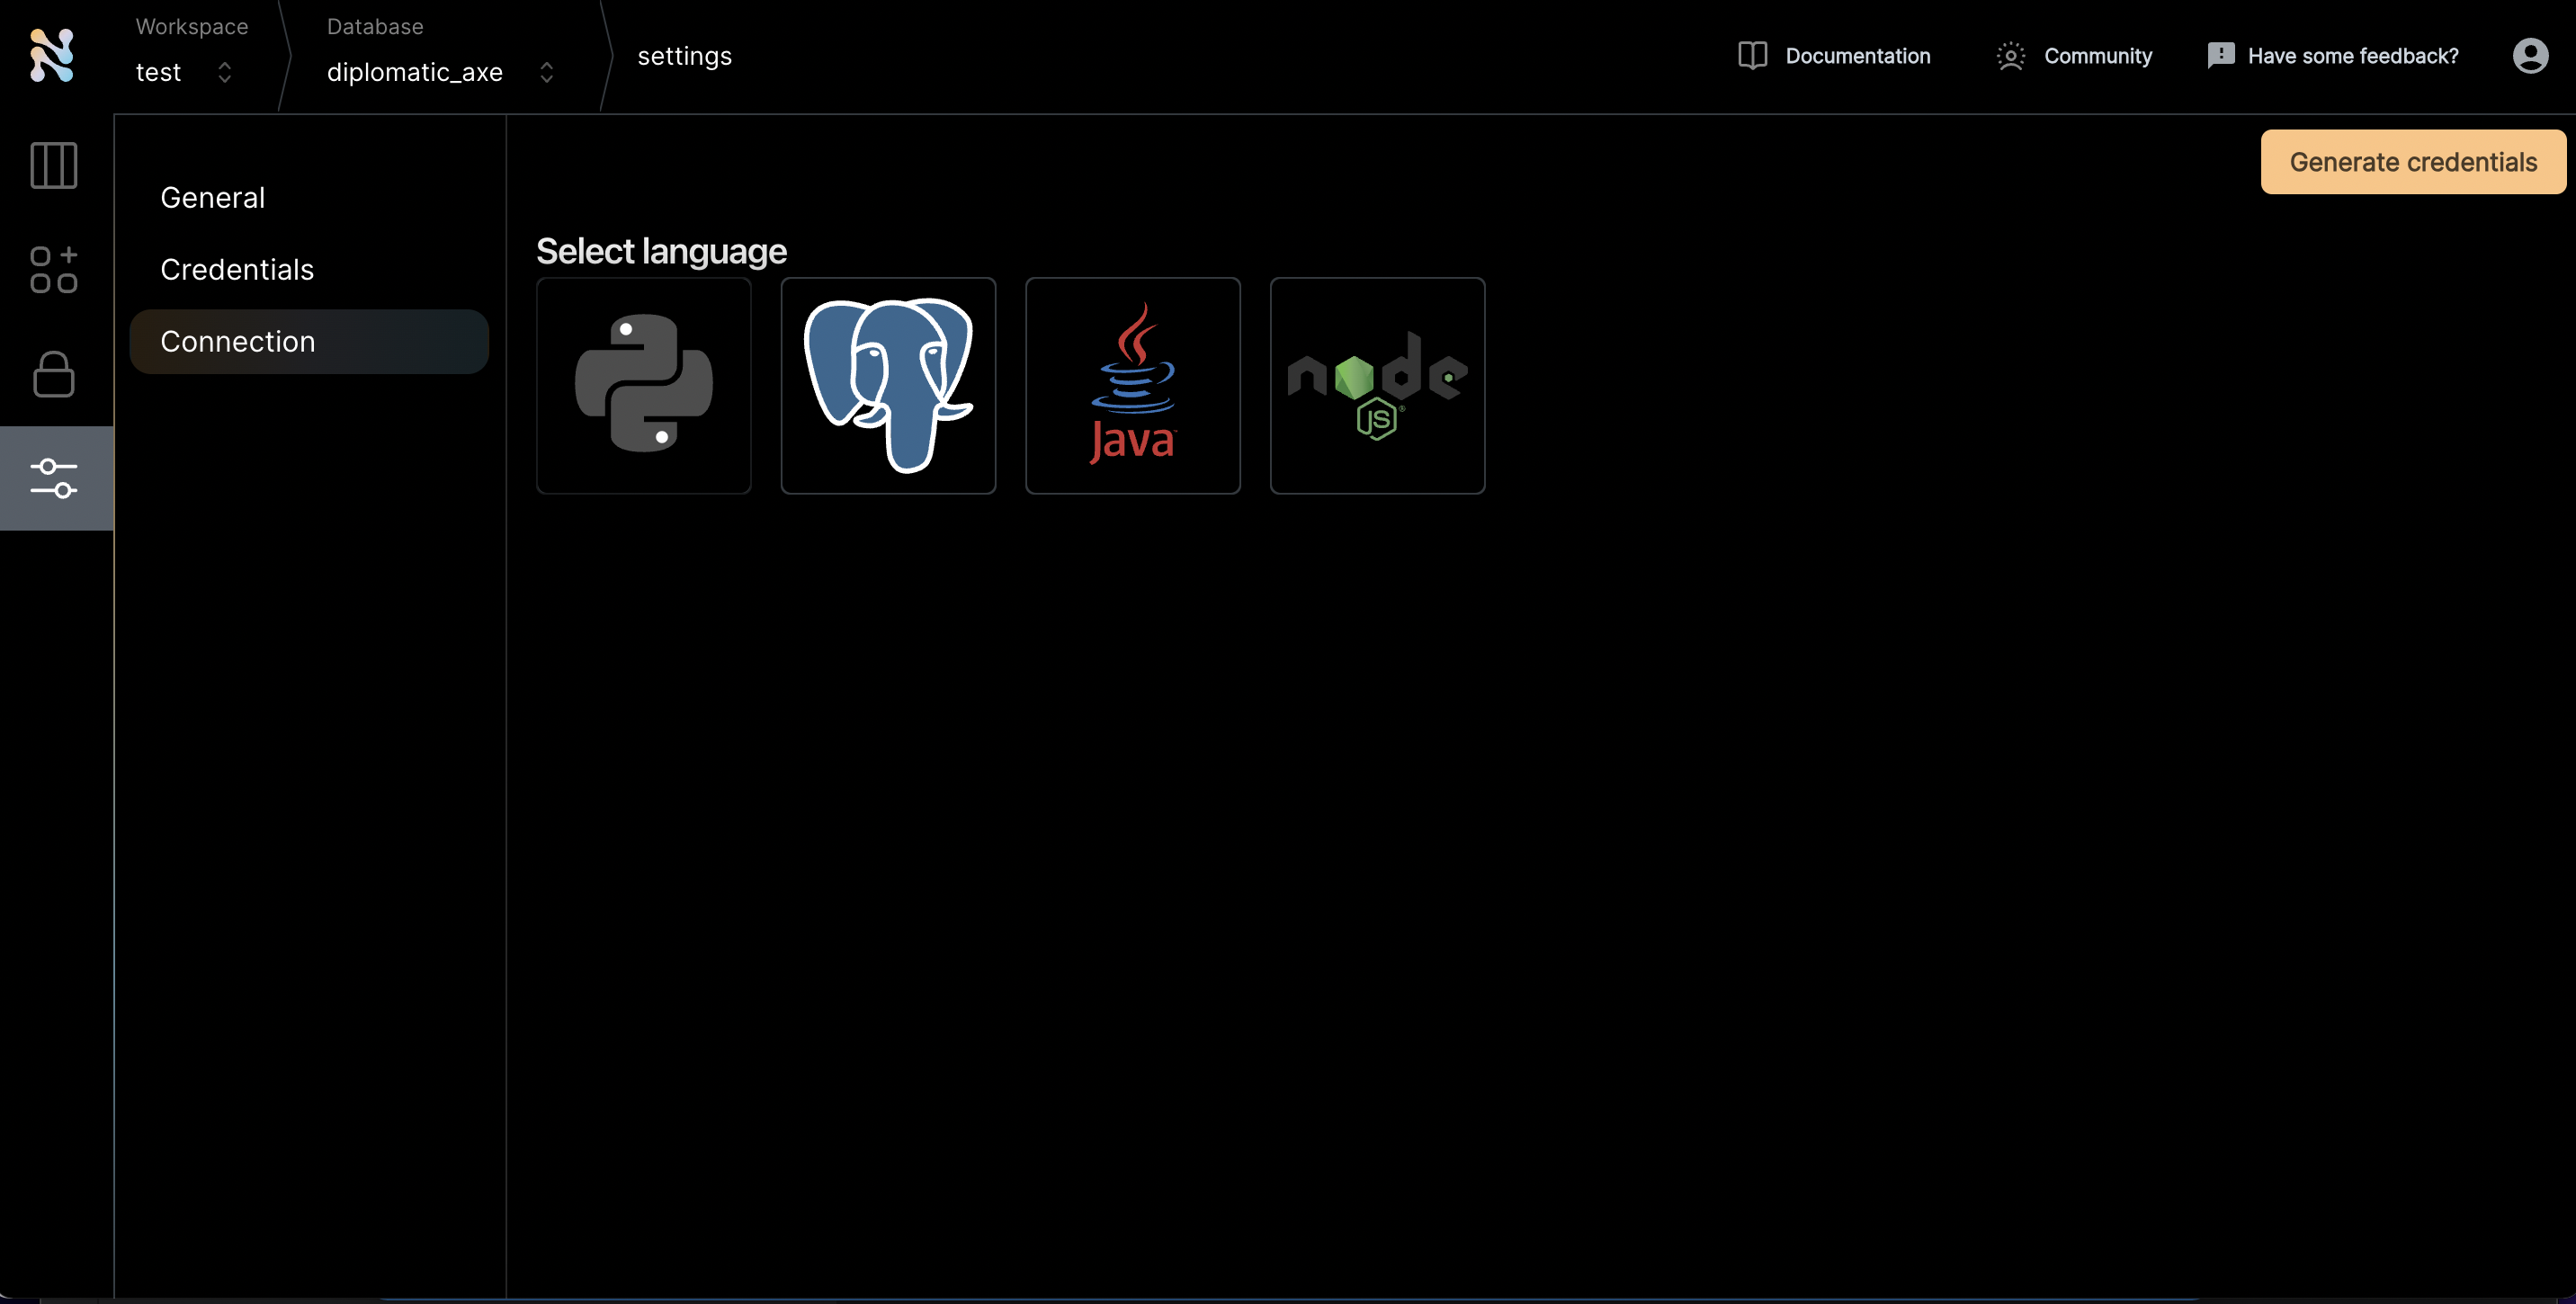
 2. Once you are inside a specific database, click on the settings tab on the left and navigate to the connections screen
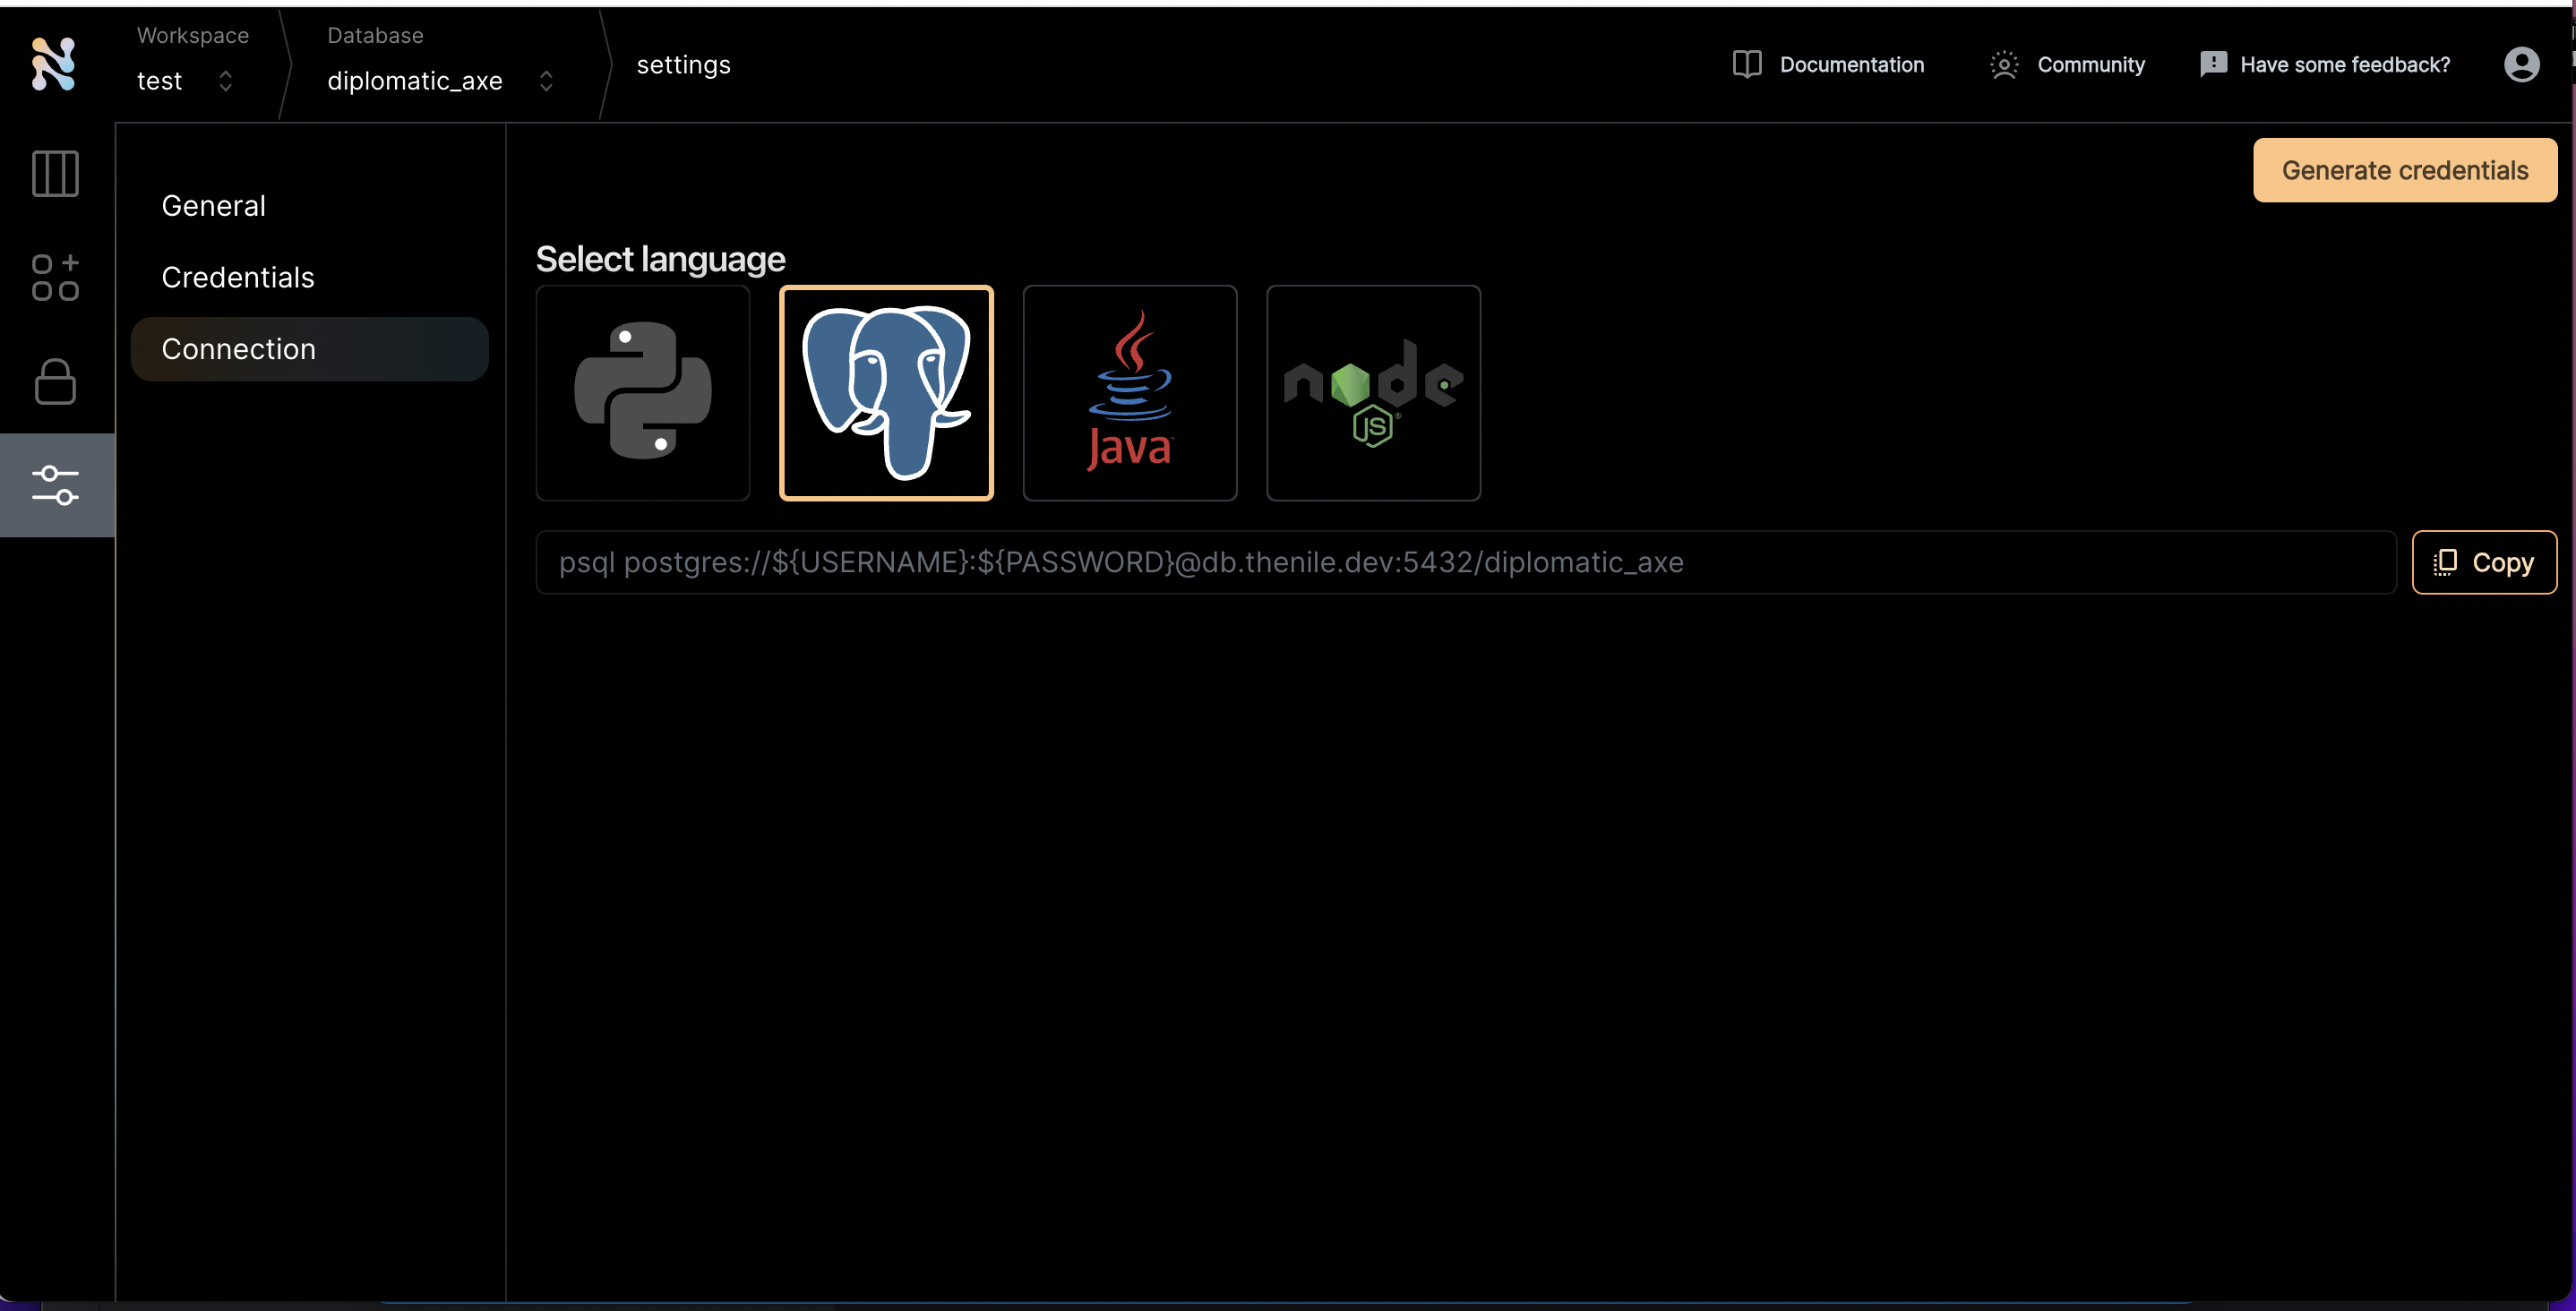
 3. Click on the Postgres icon to get the connection string
 4. Click "Generate credentials". Use this if you really want to simplify the access. If not, you can replace the username and password manually and use that through commandline.
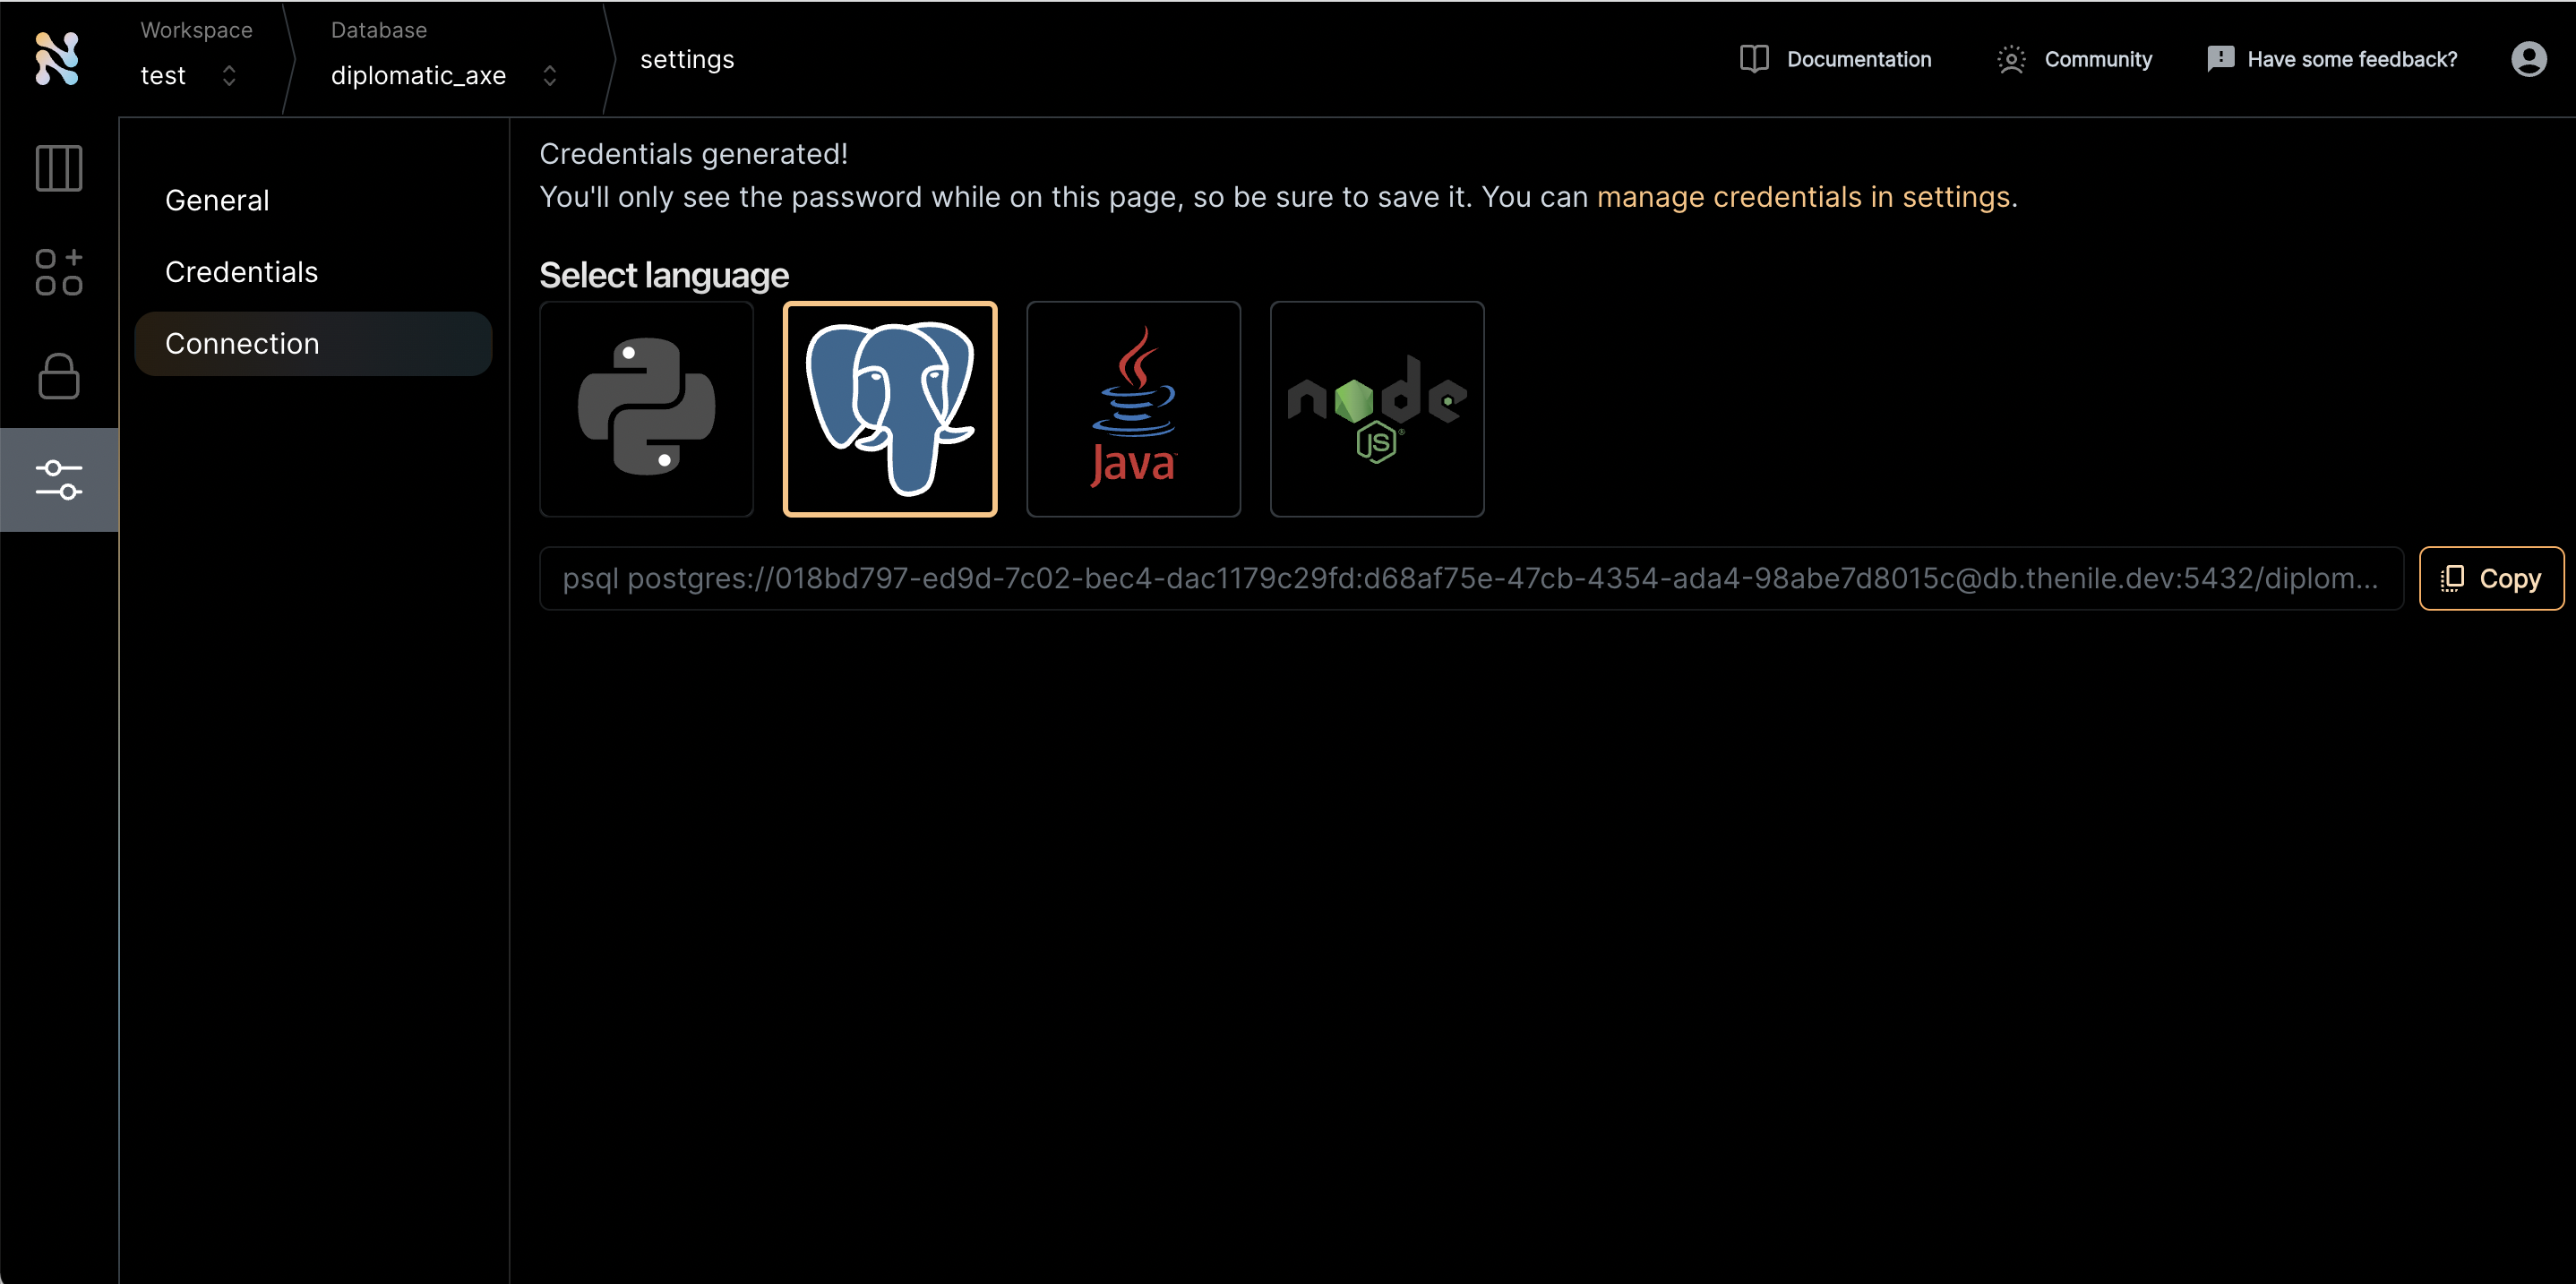 5. There are four parts of this url that is needed to connect to PgAdmin
```bash theme={null}
host:db.thenile.dev
database:diplomatic_axe
username:018bd797-ed9d-7c02-bec4-dac1179c29fd
password:d68af75e-47cb-4354-ada4-98abe7d8015c
```
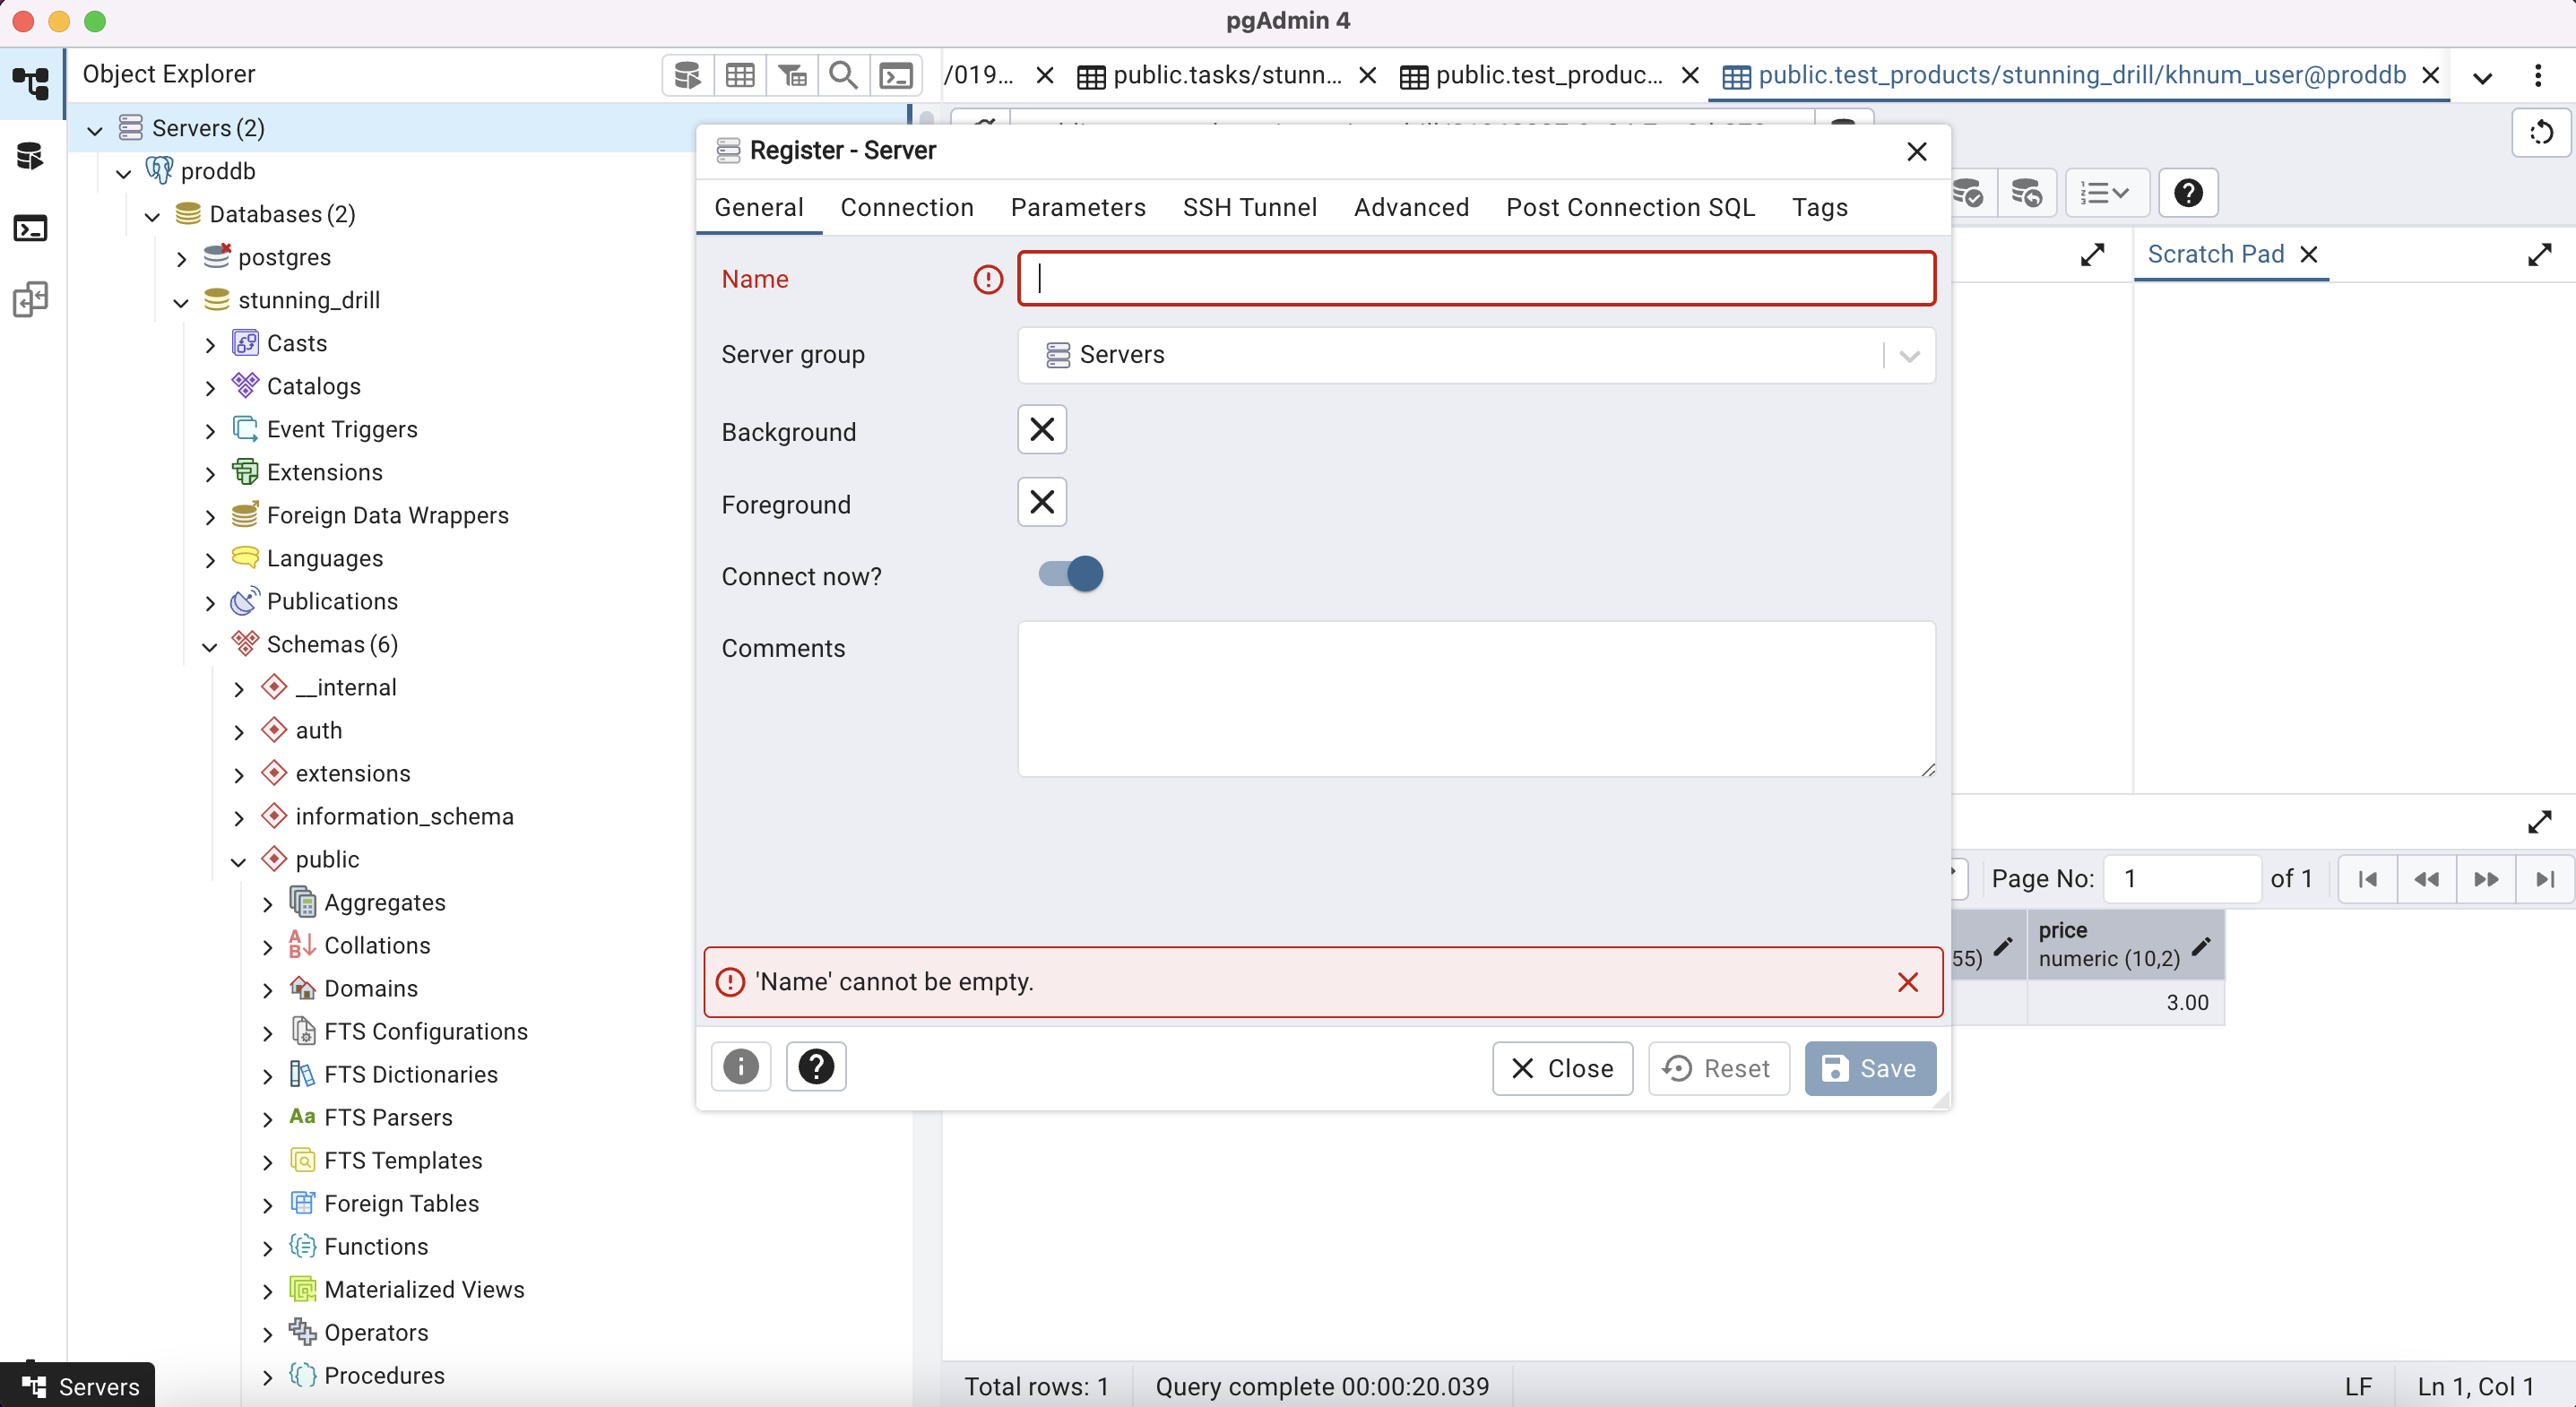
6. Navigate to PgAdmin. Select to create a new server. Provide a name for the server
5. There are four parts of this url that is needed to connect to PgAdmin
```bash theme={null}
host:db.thenile.dev
database:diplomatic_axe
username:018bd797-ed9d-7c02-bec4-dac1179c29fd
password:d68af75e-47cb-4354-ada4-98abe7d8015c
```
6. Navigate to PgAdmin. Select to create a new server. Provide a name for the server
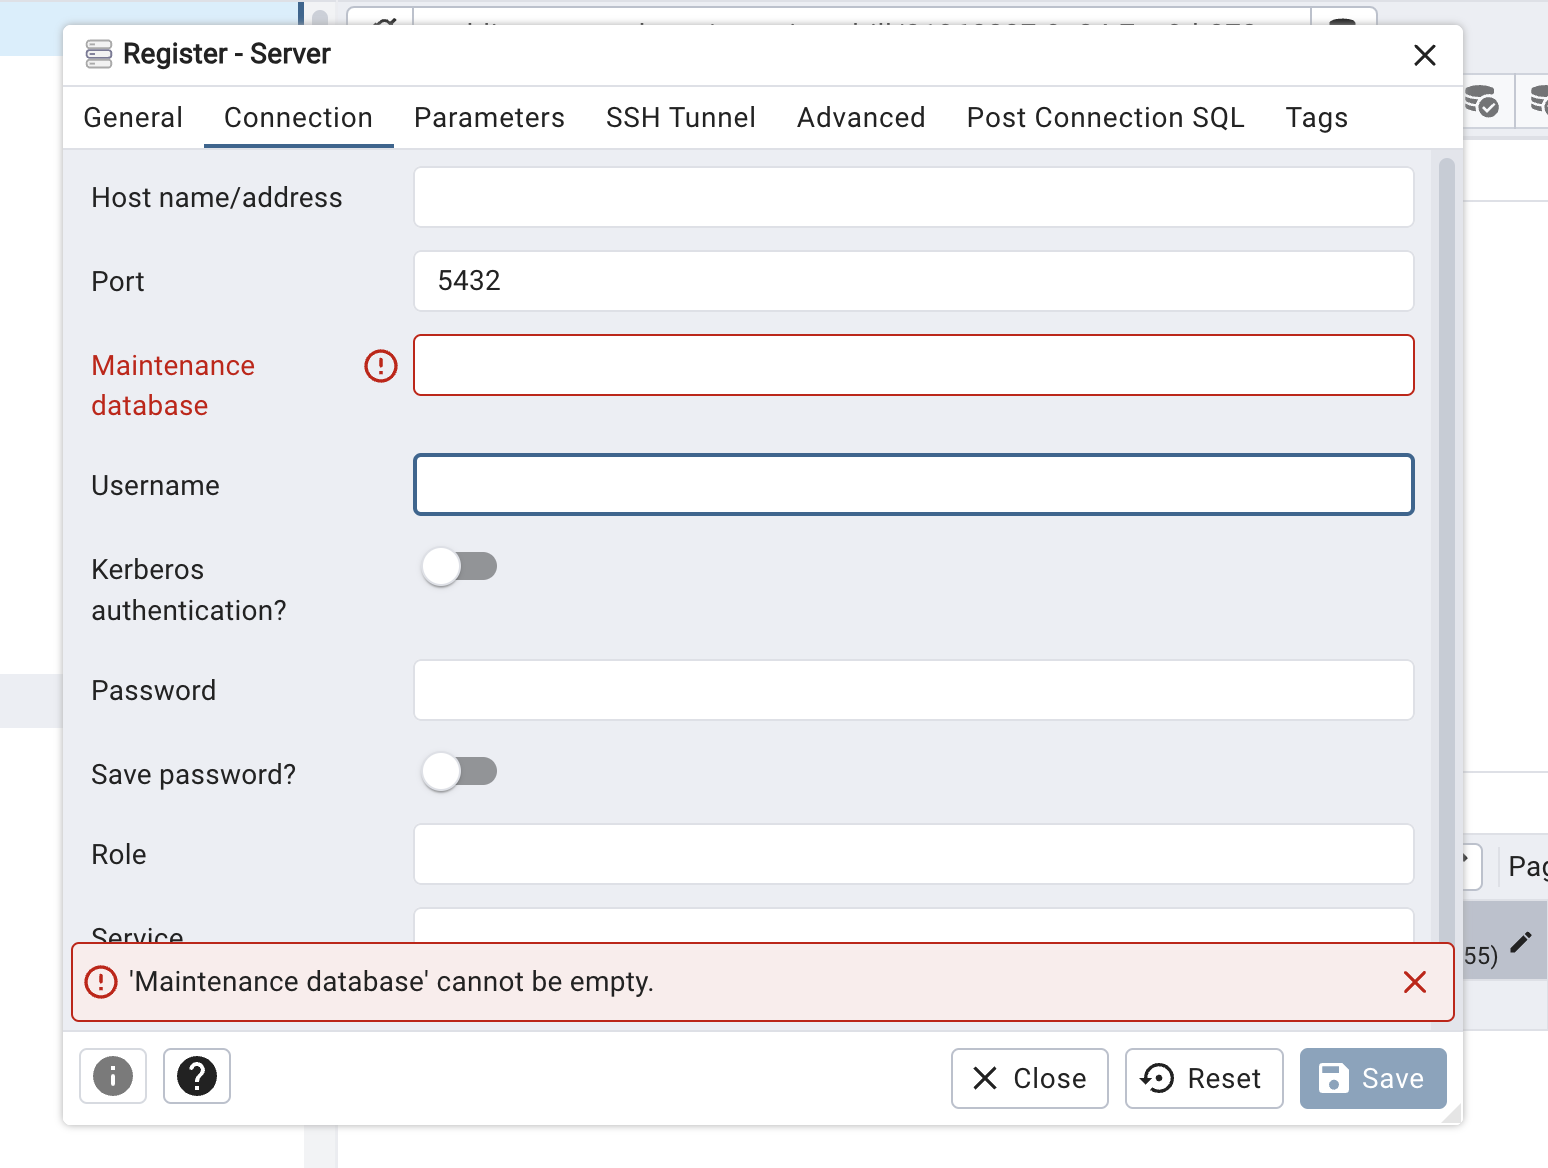
 7. Enter the host, database, username and password from step 5
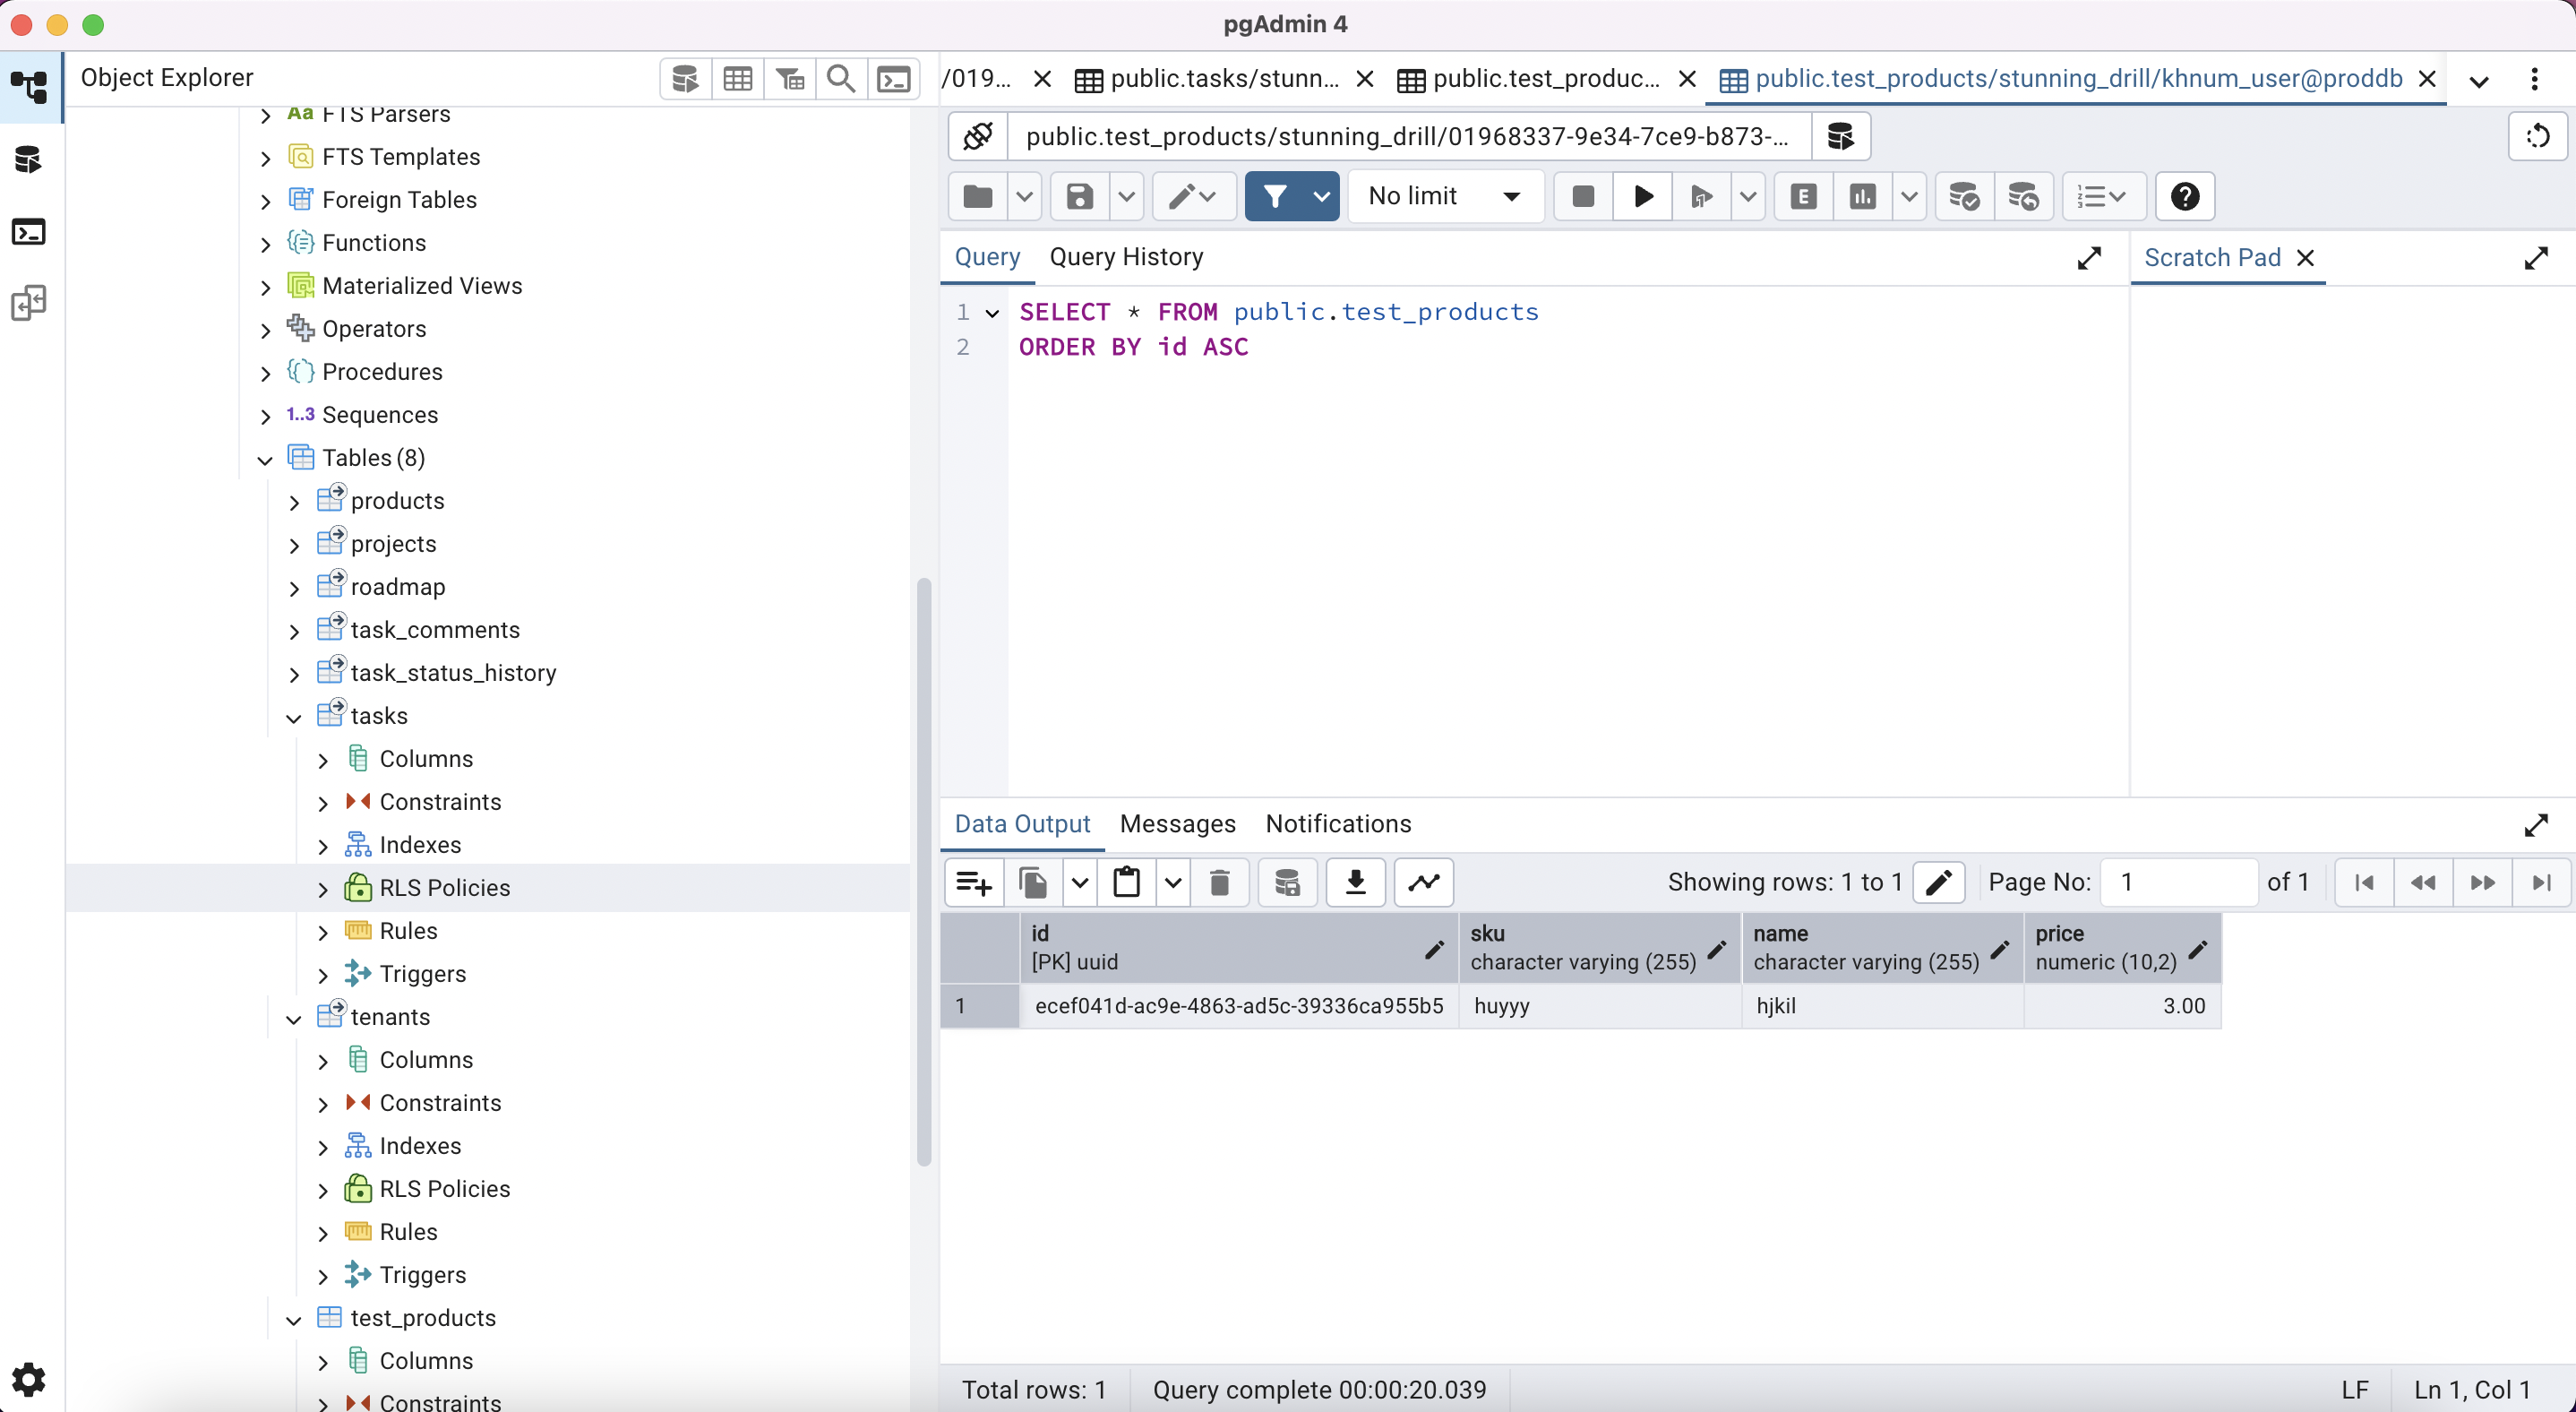
 8. Press OK and PgAdmin should automatically connect to Nile's Postgres
 10. Known issues
* You cannot create a table through the UI editor. You can create a table through the query editor
* You cannot get information about indexes or constraints through the UI editor
11. Enjoy exploring Nile with PgAdmin
10. Known issues
* You cannot create a table through the UI editor. You can create a table through the query editor
* You cannot get information about indexes or constraints through the UI editor
11. Enjoy exploring Nile with PgAdmin