> ## Documentation Index
> Fetch the complete documentation index at: https://thenile.dev/docs/llms.txt
> Use this file to discover all available pages before exploring further.
# Model Context Protocol
> Model Context Protocol for Nile
The Model Context Protocol (MCP) is a standardized interface that enables Large Language Models (LLMs) like Claude to interact with external tools and services. For Nile, MCP provides a natural language interface to manage databases, execute queries, and handle database operations through AI assistants.
Key benefits:
* Natural language interaction with your databases
* Standardized interface across different AI tools
* Type-safe operations with input validation
* Real-time database management and querying
* Secure credential handling
## Installing Nile Model Context Protocol
### Stable Version
```bash theme={null}
npm install @niledatabase/nile-mcp-server
```
This will install @niledatabase/nile-mcp-server in your node\_modules folder. For example: node\_modules/@niledatabase/nile-mcp-server/dist/
### Latest Alpha/Preview Version
```bash theme={null}
npm install @niledatabase/nile-mcp-server@alpha
```
This will install @niledatabase/nile-mcp-server in your node\_modules folder. For example: node\_modules/@niledatabase/nile-mcp-server/dist/
### Manual Installation
```bash theme={null}
# Clone the repository
git clone https://github.com/yourusername/nile-mcp-server.git
cd nile-mcp-server
# Install dependencies
npm install
# Build the project
npm run build
```
### Configuration
Create a `.env` file in your project root:
```env theme={null}
NILE_API_KEY=your_api_key_here
NILE_WORKSPACE_SLUG=your_workspace_slug
```
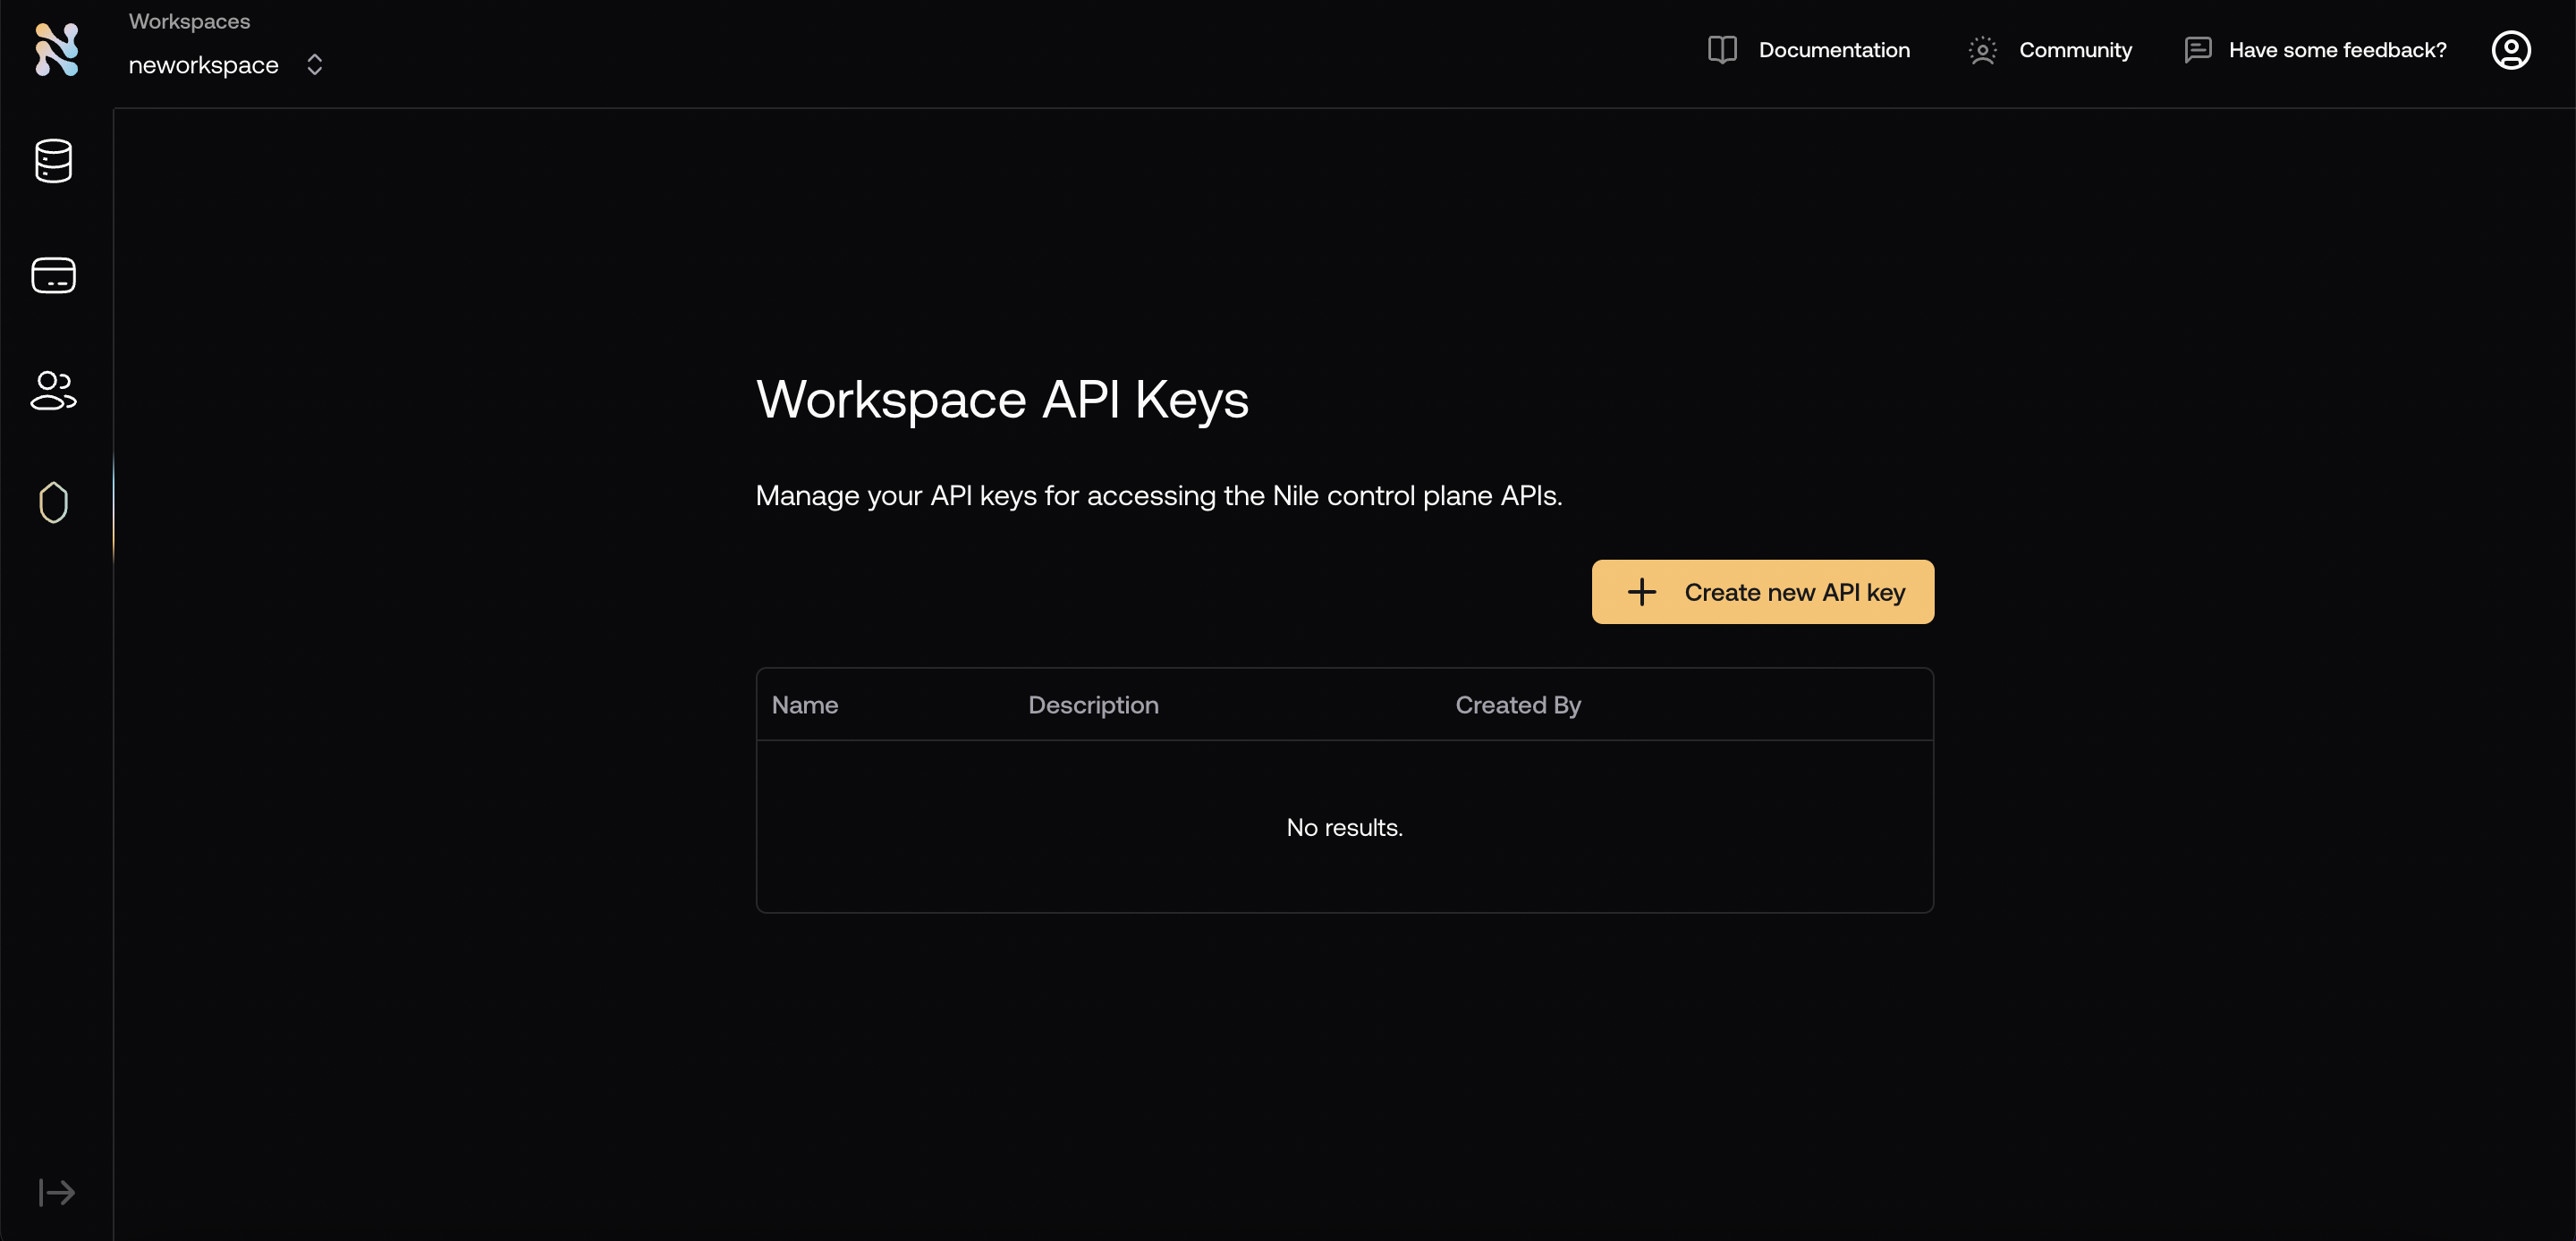
You can get the API key and workspace from [Nile console](https://console.thenile.dev/). Note the workspace name at the top and you can create an API key from the Security tab on the left.
 ## Available Tools
### Database Management
* **create-database**: Create new databases
* **list-databases**: List all databases in workspace
* **get-database**: Get detailed database information
* **delete-database**: Delete databases
### Credential Management
* **list-credentials**: List database credentials
* **create-credential**: Create new database credentials
### Region Management
* **list-regions**: List available regions for database creation
### SQL Operations
* **execute-sql**: Execute SQL queries with results as markdown tables
### Resource Management
* **read-resource**: Get detailed schema information
* **list-resources**: List all database resources
### Tenant Management
* **list-tenants**: List all database tenants
* **create-tenant**: Create new tenants
* **delete-tenant**: Delete existing tenants
## Server Modes
### STDIN Mode (Default)
STDIN mode uses standard input/output for communication, ideal for direct integration with AI tools.
1. Start the server:
```bash theme={null}
node dist/index.js
```
2. The server automatically uses STDIN/STDOUT for communication
### SSE Mode
Server-Sent Events (SSE) mode enables HTTP-based, event-driven communication.
1. Configure SSE mode in `.env`:
```env theme={null}
MCP_SERVER_MODE=sse
```
2. Start the server:
```bash theme={null}
node dist/index.js
```
3. Connect to SSE endpoint:
```bash theme={null}
# Listen for events
curl -N http://localhost:3000/sse
```
4. Send commands:
```bash theme={null}
# Send a command
curl -X POST http://localhost:3000/messages \
-H "Content-Type: application/json" \
-d '{
"type": "function",
"name": "list-databases",
"parameters": {}
}'
```
## Claude Desktop Setup
1. Install [Claude Desktop](https://claude.ai/desktop)
2. Configure MCP Server:
* Open Claude Desktop
* Go to Settings > MCP Servers
* Click "Add Server"
* Add configuration:
```json theme={null}
{
"mcpServers": {
"nile-database": {
"command": "node",
"args": ["/path/to/your/nile-mcp-server/dist/index.js"],
"env": {
"NILE_API_KEY": "your_api_key_here",
"NILE_WORKSPACE_SLUG": "your_workspace_slug"
}
}
}
}
```
3. Replace:
* `/path/to/your/nile-mcp-server` with your actual project path
* `your_api_key_here` with your Nile API key
* `your_workspace_slug` with your workspace slug
4. Click Save and restart Claude Desktop
## Cursor Setup
1. Install [Cursor](https://cursor.sh)
2. Configure MCP Server:
* Open Cursor
* Go to Settings (⌘,) > Features > MCP Servers
* Click "Add New MCP Server"
3. Add server configuration:
* Name: `nile-database`
* Command:
```bash theme={null}
env NILE_API_KEY=your_key NILE_WORKSPACE_SLUG=your_workspace node /absolute/path/to/nile-mcp-server/dist/index.js
```
4. Replace:
* `your_key` with your Nile API key
* `your_workspace` with your workspace slug
* `/absolute/path/to` with your project path
5. Click Save and restart Cursor
## Windsurf Setup
1. Open Windsurf and go to the Cascade assistant
2. Click on the hammmer icon (should show MCP on hover) and then on configure
3. Paste the configuration below into the mcp\_configuration.json file
```json theme={null}
{
"mcpServers": {
"nile-database": {
"command": "node",
"args": ["/path/to/your/nile-mcp-server/dist/index.js"],
"env": {
"NILE_API_KEY": "your_api_key_here",
"NILE_WORKSPACE_SLUG": "your_workspace_slug"
}
}
}
}
```
4. Replace:
* `/path/to/your/nile-mcp-server` with your actual project path
* `your_api_key_here` with your Nile API key
* `your_workspace_slug` with your workspace slug
5. On saving, Windsurf will ask for confirmation. Once confirmed, it should show nile-database MCP active with a green active status
## Cline Setup
1. Click on MCP Servers in the Cline chat window
2. Click on the Installed tab and tap the "Configure MCP Servers" SignOutButton
3. Paste the configuration below into the cline\_mcp\_settings.json file
```json theme={null}
{
"mcpServers": {
"nile-database": {
"command": "node",
"args": ["/path/to/your/nile-mcp-server/dist/index.js"],
"env": {
"NILE_API_KEY": "your_api_key_here",
"NILE_WORKSPACE_SLUG": "your_workspace_slug"
}
}
}
}
```
4. Replace:
* `/path/to/your/nile-mcp-server` with your actual project path
* `your_api_key_here` with your Nile API key
* `your_workspace_slug` with your workspace slug
5. On saving, Cline will ask for confirmation. Once confirmed, it should show nile-database MCP active with a green active status
## Claude Code Setup
1. Install Claude Code
```bash theme={null}
npm install -g @anthropic-ai/claude-code
```
2. Add the MCP Server to Claude Code (note that right now Claude Code only supports STDIO mode, not SSE):
```bash theme={null}
claude mcp add nile_local_mcp node /path/to/your/nile-mcp-server/dist/index.js -e NILE_API_KEY=your_api_key_here -e NILE_WORKSPACE_SLUG=your_workspace_slug
```
3. You should see the following output:
```bash theme={null}
Added stdio MCP server nile_local_mcp with command: node /path/to/your/nile-mcp-server/dist/index.js to project config
```
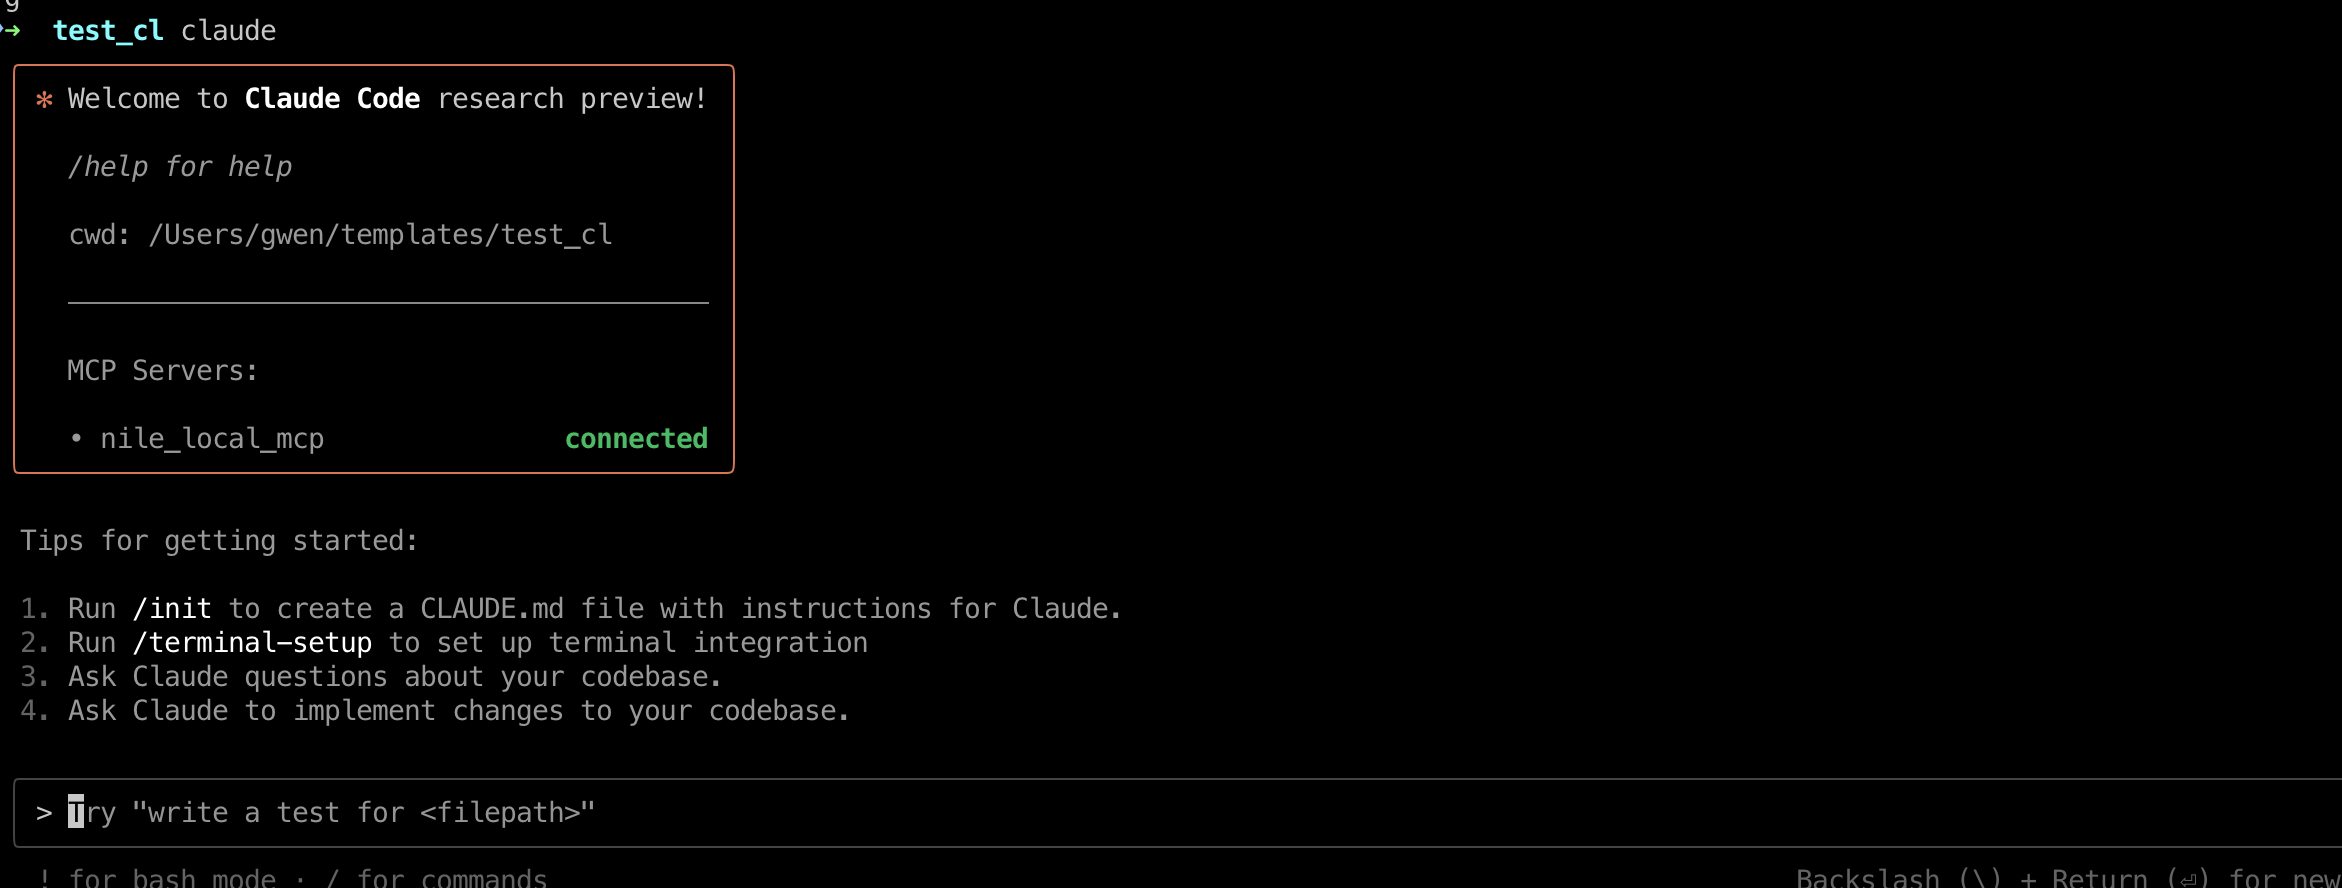
4. You can now use the MCP Server in Claude Code:
## Available Tools
### Database Management
* **create-database**: Create new databases
* **list-databases**: List all databases in workspace
* **get-database**: Get detailed database information
* **delete-database**: Delete databases
### Credential Management
* **list-credentials**: List database credentials
* **create-credential**: Create new database credentials
### Region Management
* **list-regions**: List available regions for database creation
### SQL Operations
* **execute-sql**: Execute SQL queries with results as markdown tables
### Resource Management
* **read-resource**: Get detailed schema information
* **list-resources**: List all database resources
### Tenant Management
* **list-tenants**: List all database tenants
* **create-tenant**: Create new tenants
* **delete-tenant**: Delete existing tenants
## Server Modes
### STDIN Mode (Default)
STDIN mode uses standard input/output for communication, ideal for direct integration with AI tools.
1. Start the server:
```bash theme={null}
node dist/index.js
```
2. The server automatically uses STDIN/STDOUT for communication
### SSE Mode
Server-Sent Events (SSE) mode enables HTTP-based, event-driven communication.
1. Configure SSE mode in `.env`:
```env theme={null}
MCP_SERVER_MODE=sse
```
2. Start the server:
```bash theme={null}
node dist/index.js
```
3. Connect to SSE endpoint:
```bash theme={null}
# Listen for events
curl -N http://localhost:3000/sse
```
4. Send commands:
```bash theme={null}
# Send a command
curl -X POST http://localhost:3000/messages \
-H "Content-Type: application/json" \
-d '{
"type": "function",
"name": "list-databases",
"parameters": {}
}'
```
## Claude Desktop Setup
1. Install [Claude Desktop](https://claude.ai/desktop)
2. Configure MCP Server:
* Open Claude Desktop
* Go to Settings > MCP Servers
* Click "Add Server"
* Add configuration:
```json theme={null}
{
"mcpServers": {
"nile-database": {
"command": "node",
"args": ["/path/to/your/nile-mcp-server/dist/index.js"],
"env": {
"NILE_API_KEY": "your_api_key_here",
"NILE_WORKSPACE_SLUG": "your_workspace_slug"
}
}
}
}
```
3. Replace:
* `/path/to/your/nile-mcp-server` with your actual project path
* `your_api_key_here` with your Nile API key
* `your_workspace_slug` with your workspace slug
4. Click Save and restart Claude Desktop
## Cursor Setup
1. Install [Cursor](https://cursor.sh)
2. Configure MCP Server:
* Open Cursor
* Go to Settings (⌘,) > Features > MCP Servers
* Click "Add New MCP Server"
3. Add server configuration:
* Name: `nile-database`
* Command:
```bash theme={null}
env NILE_API_KEY=your_key NILE_WORKSPACE_SLUG=your_workspace node /absolute/path/to/nile-mcp-server/dist/index.js
```
4. Replace:
* `your_key` with your Nile API key
* `your_workspace` with your workspace slug
* `/absolute/path/to` with your project path
5. Click Save and restart Cursor
## Windsurf Setup
1. Open Windsurf and go to the Cascade assistant
2. Click on the hammmer icon (should show MCP on hover) and then on configure
3. Paste the configuration below into the mcp\_configuration.json file
```json theme={null}
{
"mcpServers": {
"nile-database": {
"command": "node",
"args": ["/path/to/your/nile-mcp-server/dist/index.js"],
"env": {
"NILE_API_KEY": "your_api_key_here",
"NILE_WORKSPACE_SLUG": "your_workspace_slug"
}
}
}
}
```
4. Replace:
* `/path/to/your/nile-mcp-server` with your actual project path
* `your_api_key_here` with your Nile API key
* `your_workspace_slug` with your workspace slug
5. On saving, Windsurf will ask for confirmation. Once confirmed, it should show nile-database MCP active with a green active status
## Cline Setup
1. Click on MCP Servers in the Cline chat window
2. Click on the Installed tab and tap the "Configure MCP Servers" SignOutButton
3. Paste the configuration below into the cline\_mcp\_settings.json file
```json theme={null}
{
"mcpServers": {
"nile-database": {
"command": "node",
"args": ["/path/to/your/nile-mcp-server/dist/index.js"],
"env": {
"NILE_API_KEY": "your_api_key_here",
"NILE_WORKSPACE_SLUG": "your_workspace_slug"
}
}
}
}
```
4. Replace:
* `/path/to/your/nile-mcp-server` with your actual project path
* `your_api_key_here` with your Nile API key
* `your_workspace_slug` with your workspace slug
5. On saving, Cline will ask for confirmation. Once confirmed, it should show nile-database MCP active with a green active status
## Claude Code Setup
1. Install Claude Code
```bash theme={null}
npm install -g @anthropic-ai/claude-code
```
2. Add the MCP Server to Claude Code (note that right now Claude Code only supports STDIO mode, not SSE):
```bash theme={null}
claude mcp add nile_local_mcp node /path/to/your/nile-mcp-server/dist/index.js -e NILE_API_KEY=your_api_key_here -e NILE_WORKSPACE_SLUG=your_workspace_slug
```
3. You should see the following output:
```bash theme={null}
Added stdio MCP server nile_local_mcp with command: node /path/to/your/nile-mcp-server/dist/index.js to project config
```
4. You can now use the MCP Server in Claude Code:
 ## Example Usage
```bash theme={null}
# Create a database
"Create a new database named 'my-app' in AWS_US_WEST_2"
# List databases
"Show me all my databases"
# Execute SQL
"Run this query on my-app: SELECT * FROM users LIMIT 5"
# Get schema information
"Show me the schema for the users table in my-app"
```
## Troubleshooting
### Common Issues
1. **Connection Issues**
* Verify API key and workspace slug
* Check server path in configuration
* Ensure project is built (`npm run build`)
2. **Permission Issues**
* Verify API key permissions
* Check workspace access
* Ensure correct environment variables
3. **Tool Access Issues**
* Restart AI tool (Claude/Cursor)
* Check server logs for errors
* Verify tool configuration
### Getting Help
* Check server logs in the `logs` directory
* Review error messages in AI tool
* Ensure all environment variables are set
* Verify network connectivity
## Example Usage
```bash theme={null}
# Create a database
"Create a new database named 'my-app' in AWS_US_WEST_2"
# List databases
"Show me all my databases"
# Execute SQL
"Run this query on my-app: SELECT * FROM users LIMIT 5"
# Get schema information
"Show me the schema for the users table in my-app"
```
## Troubleshooting
### Common Issues
1. **Connection Issues**
* Verify API key and workspace slug
* Check server path in configuration
* Ensure project is built (`npm run build`)
2. **Permission Issues**
* Verify API key permissions
* Check workspace access
* Ensure correct environment variables
3. **Tool Access Issues**
* Restart AI tool (Claude/Cursor)
* Check server logs for errors
* Verify tool configuration
### Getting Help
* Check server logs in the `logs` directory
* Review error messages in AI tool
* Ensure all environment variables are set
* Verify network connectivity