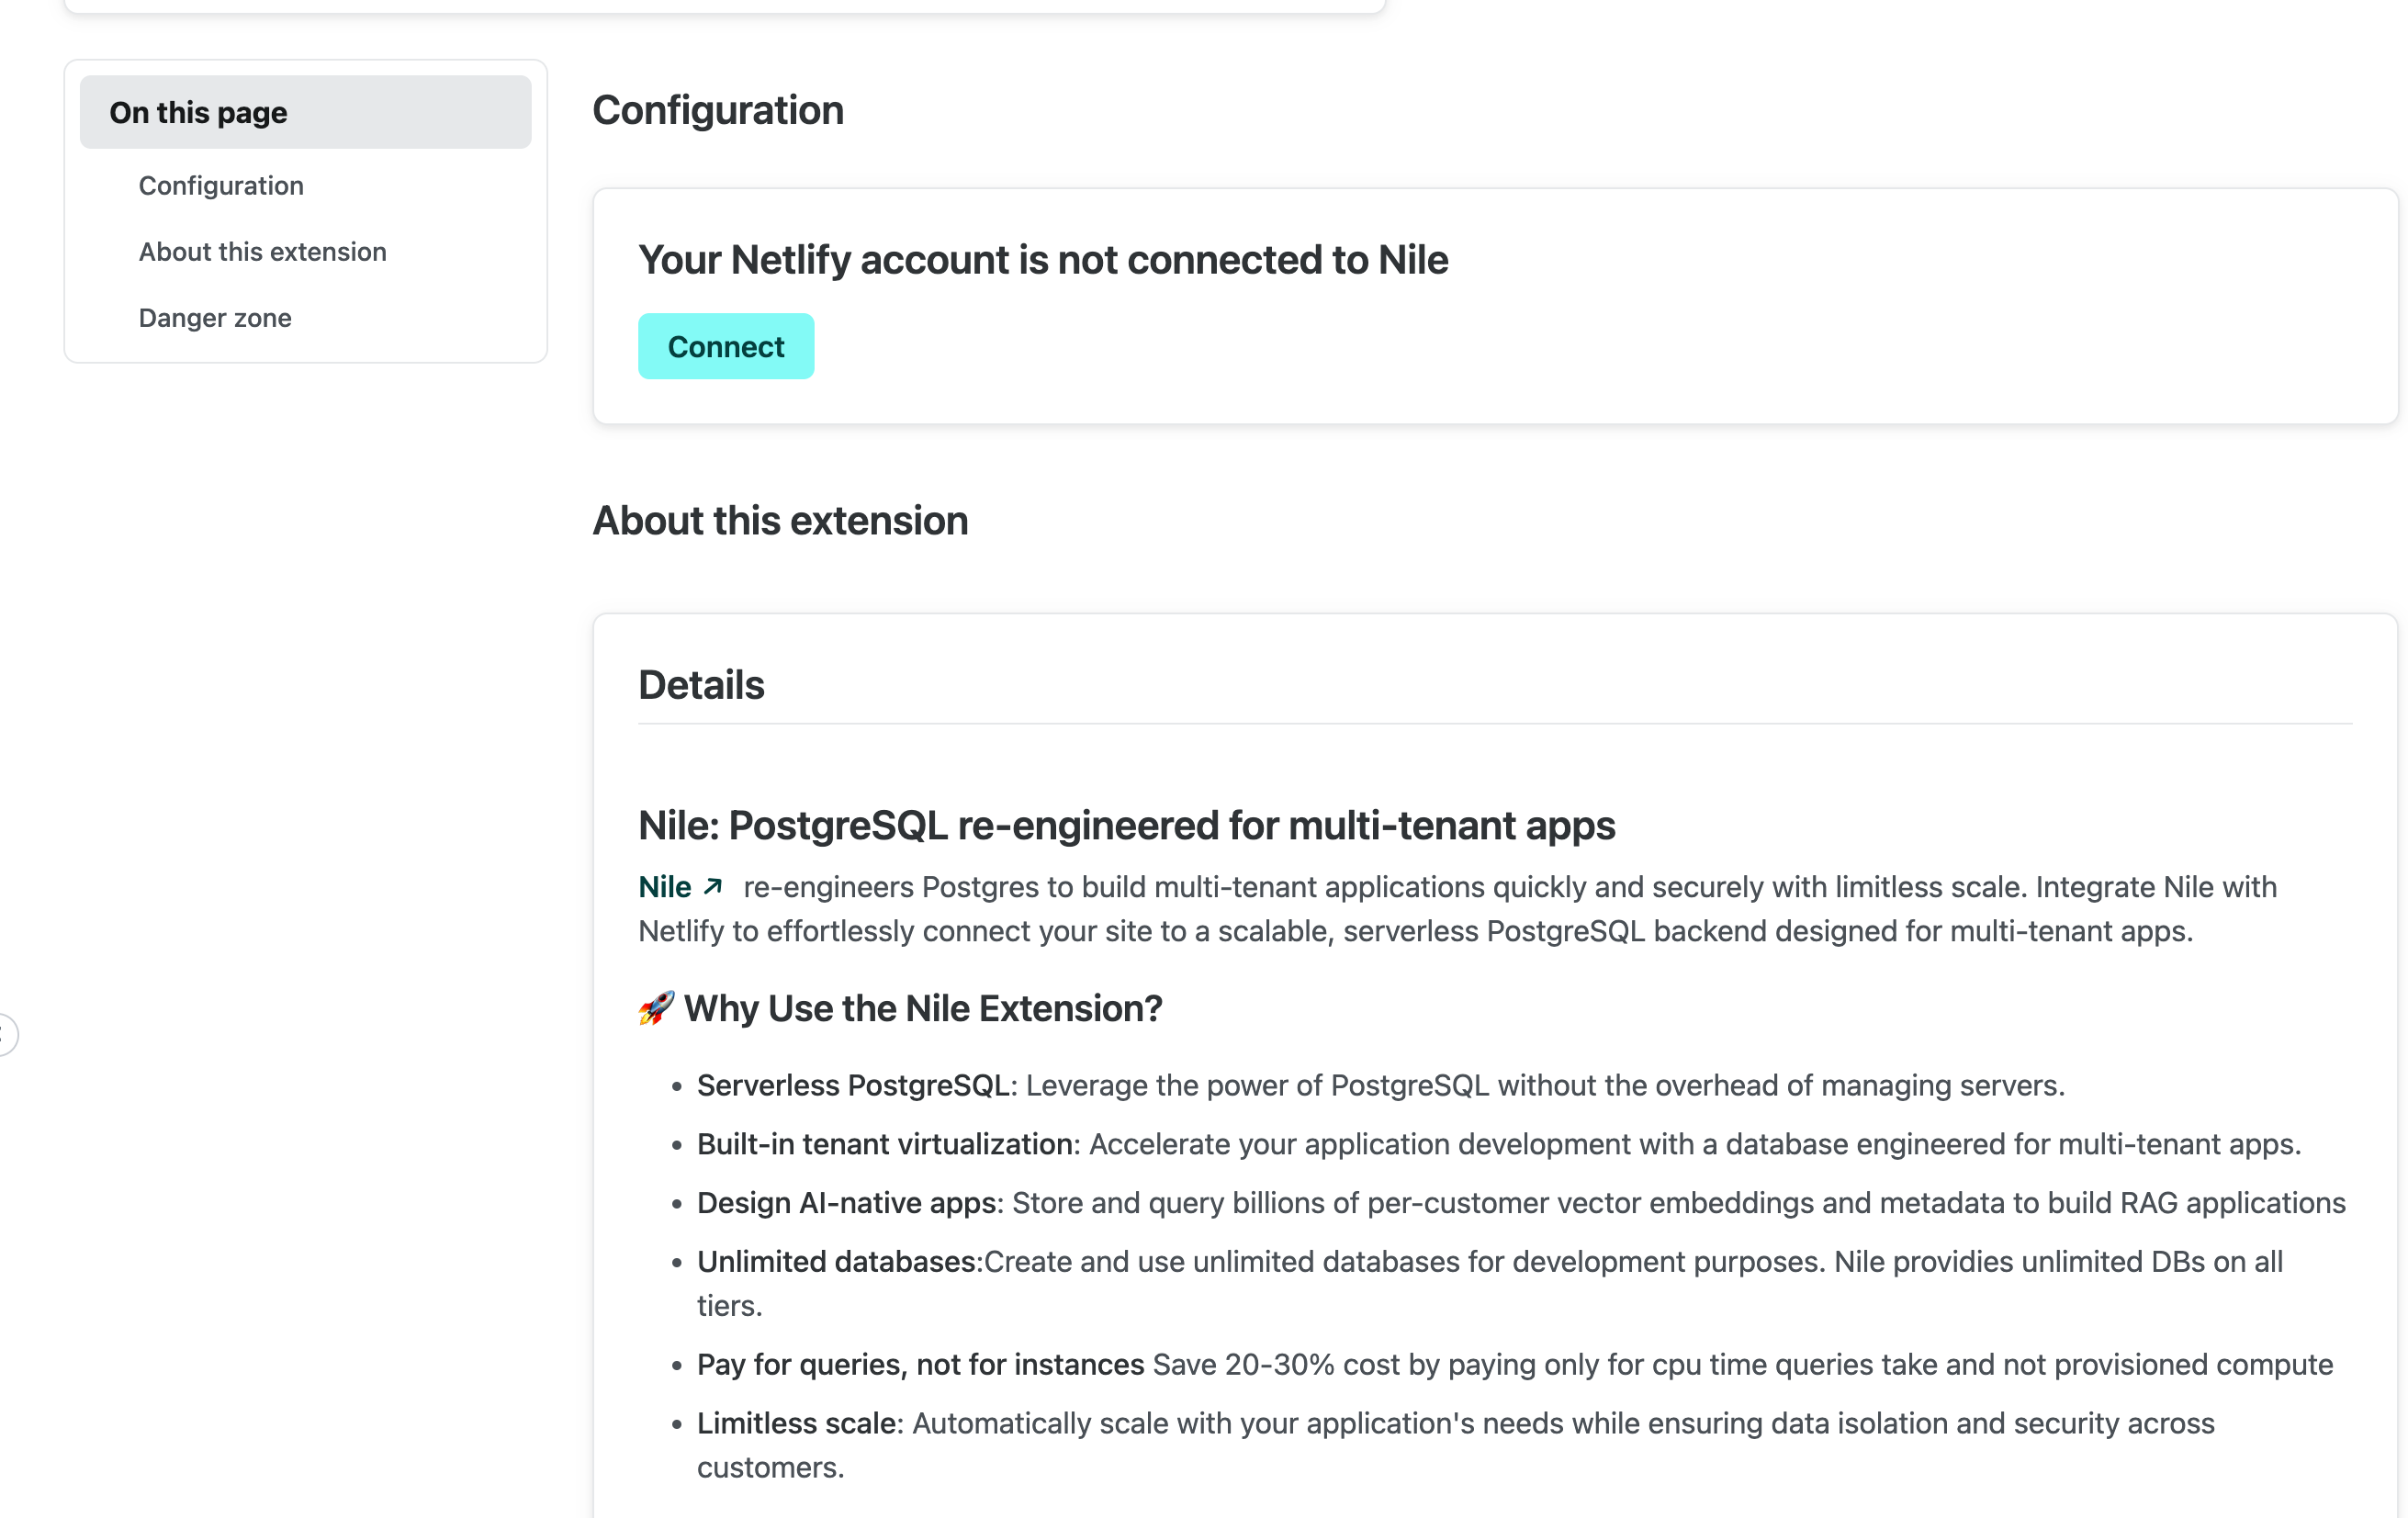
We're excited to announce a powerful new partnership between Nile, the serverless PostgreSQL platform engineered for multi-tenant applications, and Netlify, the leader in web application delivery. This collaboration aims to provide developers with a seamless experience in building and deploying multi-tenant applications at scale, safely and with great developer experience.
With Nile's Netlify integration, using Nile as the database for your multi-tenant application is as simple as a click in the Netlify dashboard. Not only that, it is also cost-effective - Nile's free tier lets you create unlimited databases, so you can create databases for all your Netlify projects, environments and branches.
All you need to do is:
- Enable the Nile integration for your team in the Netlify dashboard. This will redirect you to Nile to complete the authentication. If you don't have a Nile account, you'll be able to sign up for one.
- Create a Netlify project or choose an existing one
- Select the Nile database you want to use for your project or create a new one
- Click "Deploy" and Netlify will handle the rest.
No more copy-pasting database credentials around. No more worrying about accidentally exposing database credentials. Creating and connecting to a database is now as easy as deploying your application to Netlify.
How it works
When you enable the Nile integration for your team, you initiate an OAuth2 flow in which Nile validates your identity and gets your permission for Netlify to create databases and database credentials on your behalf.

Once you've enabled the integration, you can select or create a Nile database for your Netlify project.

When you select or create a Nile database for your Netlify project, Netlify will recieve the connection information it needs to connect to your database from Nile and store it in its environment variables.
You can then use the connection information to connect to your database from your application code. Nile will work with any Postgres client or ORM that you prefer - just make sure you configure it using the environment variables that were added to your Netlify project.
For example, if you are using Drizzle ORM, you can configure it like this:
import dotenv from "dotenv";
import { drizzle } from "drizzle-orm/node-postgres";
import { Client } from "pg";
dotenv.config();

const client = new Client({
  connectionString: process.env.NILEDB_URL,
});
// or
const client = new Client({
  host: process.env.NILEDB_HOST,
  port: 5432,
  user: process.env.NILEDB_USER,
  password: process.env.NILEDB_PASSWORD,
  database: process.env.NILEDB_NAME,
});
await client.connect();
const db = drizzle(client);
Netlify supports environment variables for different environments and branches (production, preview, etc). And Nile gives you free, unlimited, databases. So feel free to create as many databases as you need for your development and deployment workflow.
Next steps
You can jump right in with an example project. You'll find the documentation here and the code here.
