We are excited to announce that Nile databases are now available as first-party integration in Vercel! Starting today, when you deploy your B2B apps on Vercel, you can provision a Postgres database with a click — directly from the Vercel dashboard. Manage the entire lifecycle of your Nile database, monitor usage and handle billing natively within Vercel.
What's included in the integration?
- Multi-tenant features by Nile
Benefit from tenant isolation for data and vectors, automatic scaling, flexible placement of tenants on shared or dedicated compute across regions, tenant insights and fully serverless developer experience. - One-click Postgres Provisioning
Create a databases for your team directly from the Vercel dashboard and connect it to any project in seconds. - Automatic Environment Setup
Database connection details and credentials are automatically added to the project's environment variables — No more copy-paste errors. - Unlimited Free Databases
Provision as many databases as you need - whether it's per project, environment or even branch. Nile's free tier includes unlimited databases and tenants, with charges only for queries and storage beyond the tier limits. - Unified Management and Billing
Manage databases, usage metrics and billing from the Vercel dashboard. Nile's usage costs are consolidated into your Vercel invoice, and pricing remains the same whether you provision through Vercel or directly from Nile. - Query editor
Quickly query your database by clicking "Open in Nile" and accessing our intuitive query editor. - CLI integration
Prefer the command line? Create Nile databases withvc i nile. Then sync the database connection details to your local environment withvc env pull .env.local.
Using Vercel and Nile together
- Create a Database
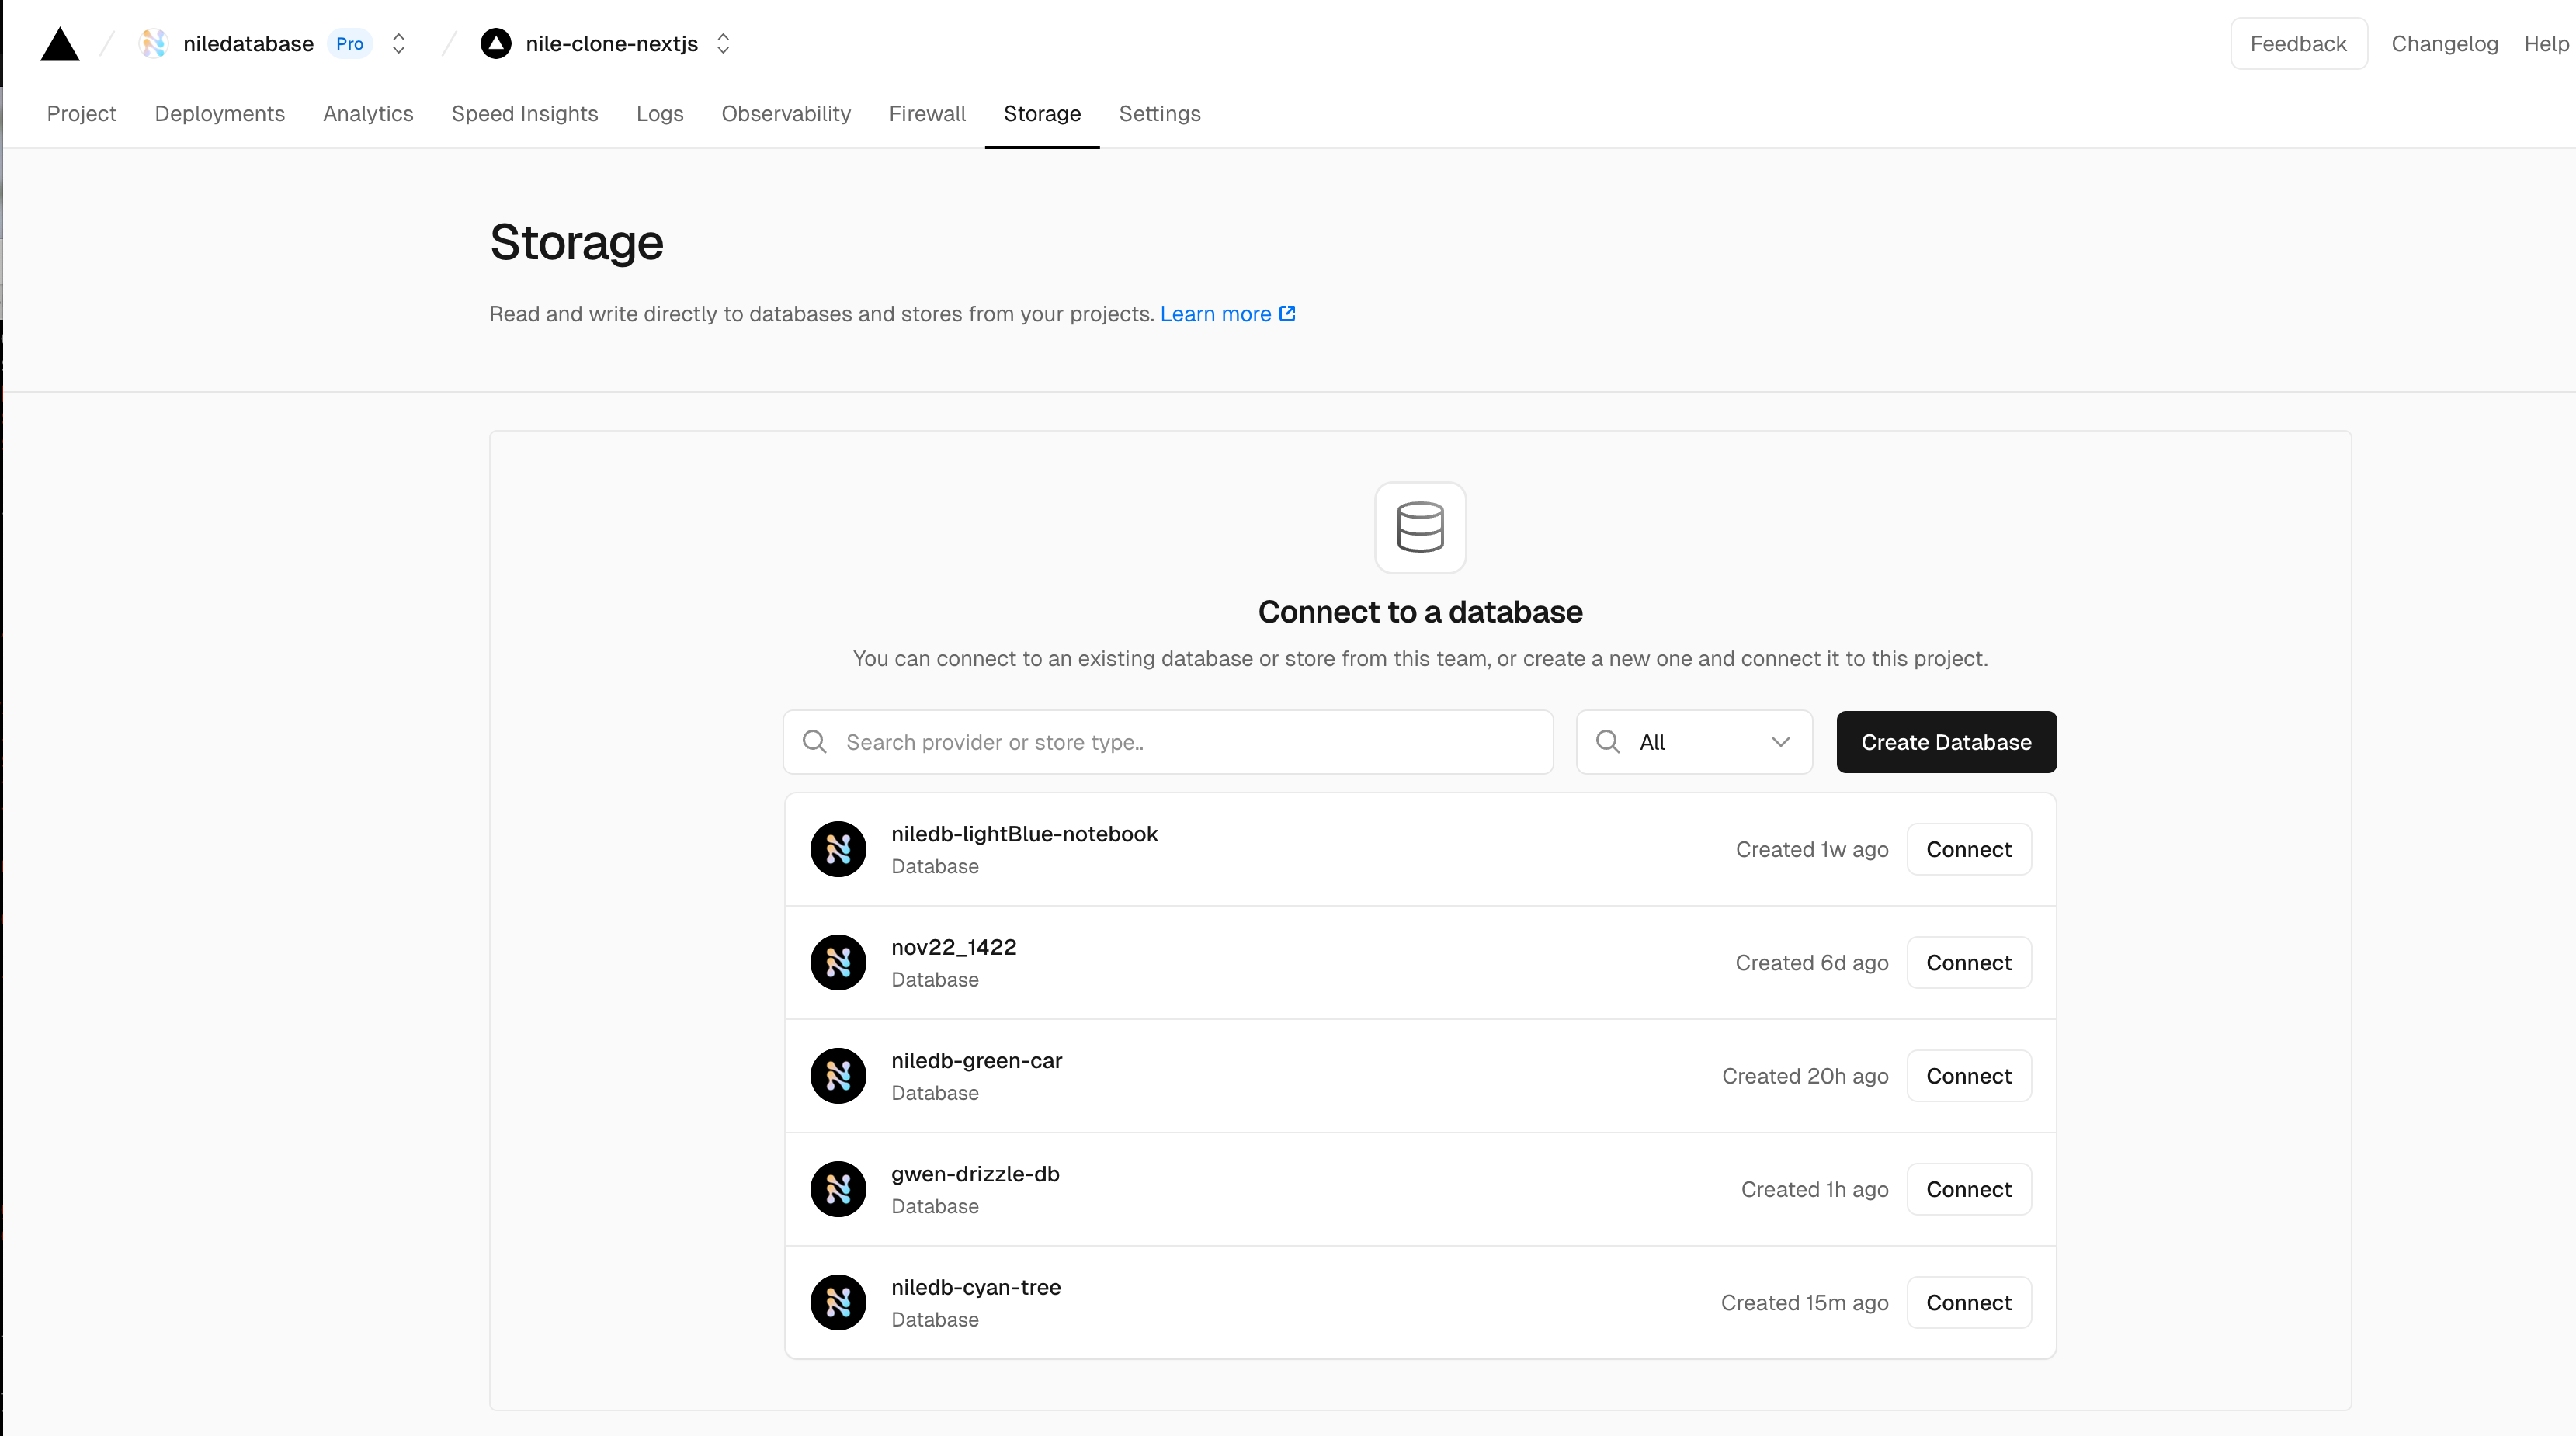
In Vercel workspace, navigate to the storage tab and then click on Create Database. Select Nile, choose region and pricing tier, and click Create.
- Connect Database to a Project
You'll see the new database in the Storage tab. Connect it to a project by clicking Connect Project and selecting the desired project. This automatically populates the database connection in the project's environment. Alternatively, you can go to a project's Storage tab and select an available database.
- Deploy the Project
Re-deploy the project in order to read the new environment variables.
That's it — managing databases has never been easier.
Next steps
Easiest way to get started is by deploying a template. Try Nile's multi-tenant Next.js template with just one click:
For more detailed documentation about the integration, check our docs.
